Sharing our favorite moist chocolate cake recipe today! My Butterfinger Double Chocolate Layered Cake makes the perfect dessert to celebrate your loved ones!

Moist Chocolate Cake Recipe
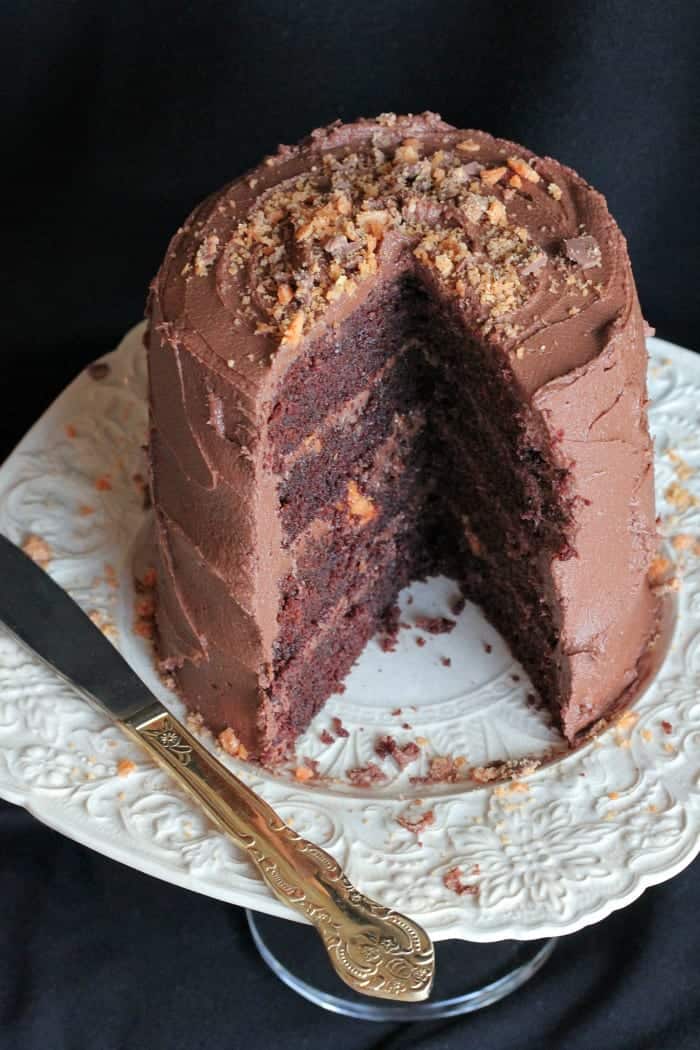
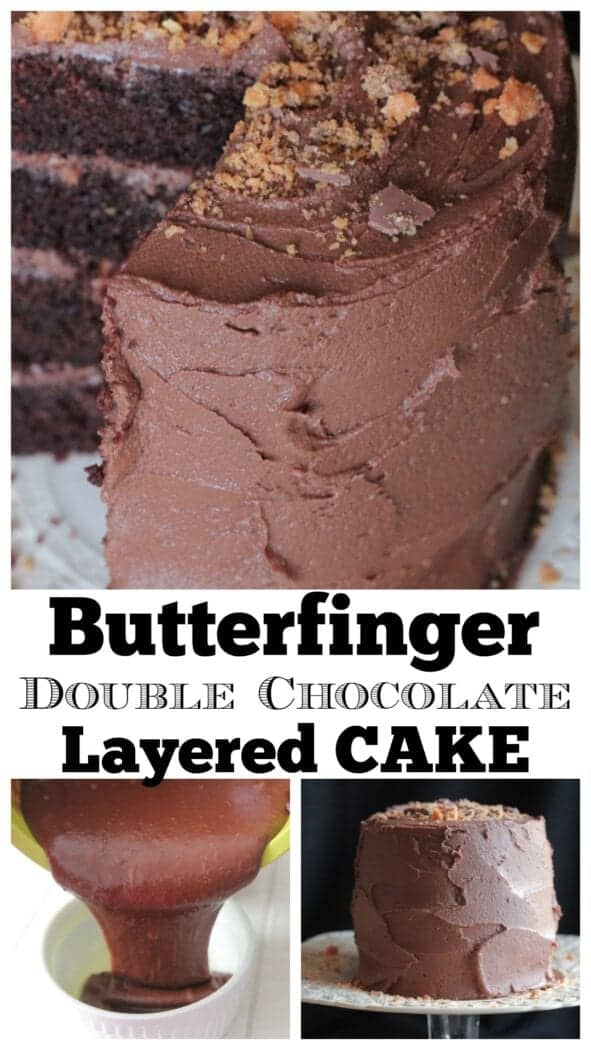
Moist chocolate cake anyone?! I’d like to introduce you to my Homemade Double Chocolate Butterfinger Cake. It is made by baking the batter in two 2 cup ramekins. I love this size because it’s about 6 inches wide and about 12 inches tall. Perfect for a birthday cake for that special someone 🙂
Try my Peanut Butter Layered Chocolate Cake recipe too! Follow Picky Palate on Instagram for daily recipe inspiration.
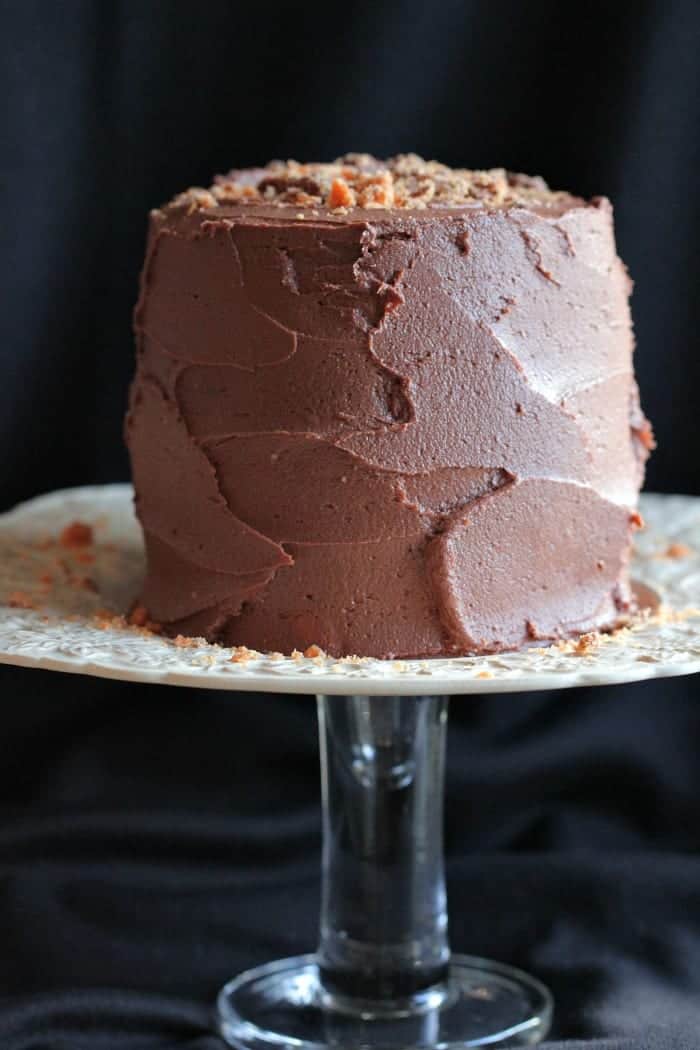
Here’s a closer look of the cake stand I made. Love how it looks with the little tall cake.
How To Make Moist Chocolate Cake
- Preheat oven to 350 degrees F. and spray two 2 cup ramekins with cooking spray and the bottoms lined with parchment paper.
- Heat the milk in a microwave safe bowl until hot, about 45-60 seconds. Remove and add chocolate chips. Let sit for 1 minute then stir to melt.
- In a stand mixer, mix the flour, cocoa powder, sugar, salt and baking soda to combine. Slowly add the eggs, sour cream, oil and melted chocolate mixture until combined. Divide batter between the two prepared ramekins. Bake for about 30 minutes, or until baked through. Remove and let cool. Remove cakes from ramekins and split horizontally.
- To prepare frosting, beat butter until creamy. Slowly add powdered sugar and cocoa until thick and spreadable. Spread a thin layer over each of the split cakes. Top each frosted layer with crushed Butterfinger bars. Stack cakes on top of each other onto your desired cake plate. Frost entire cake and top with more crushed Butterfinger bars.
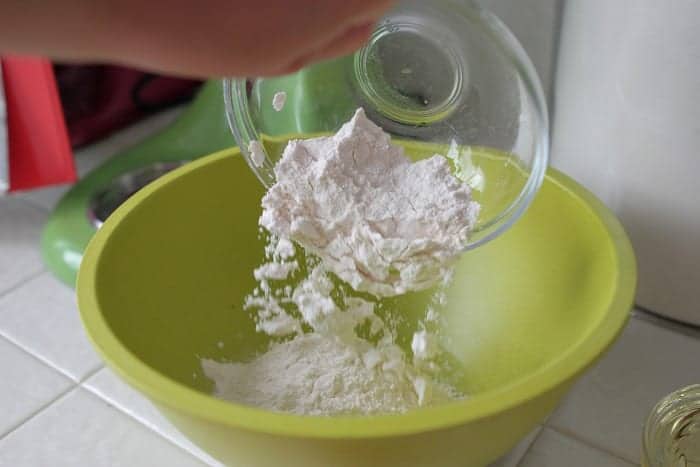
Let’s start with the cake shall we?! Add your flour to the bowl.
Homemade Chocolate Cake
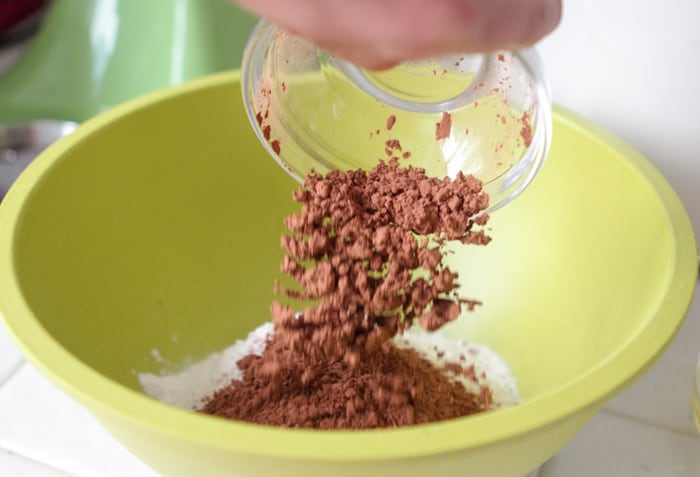
Cocoa powder!
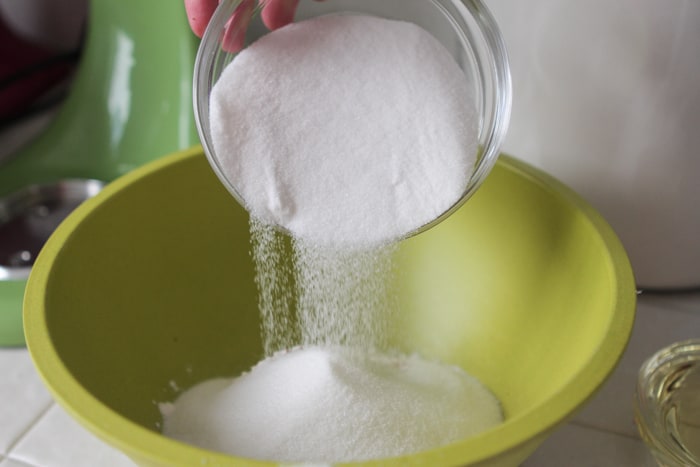
Sugar please!
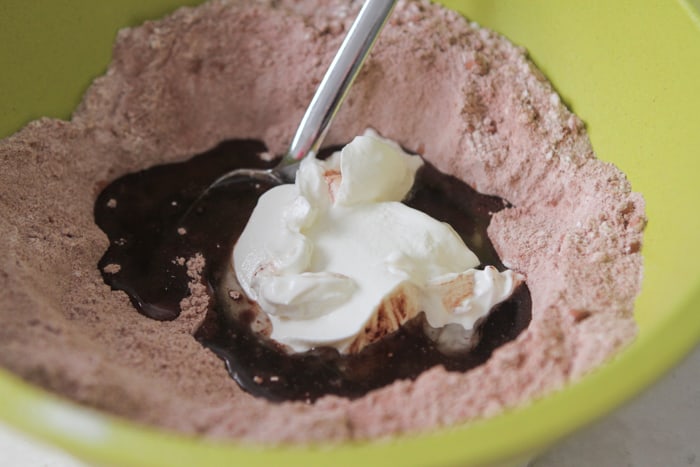
Oil and sour cream.
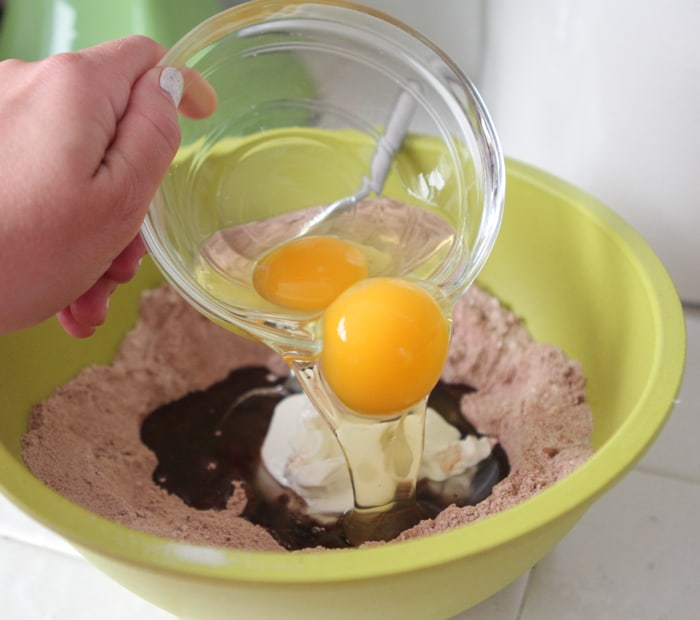
Eggs please 🙂
Homemade Chocolate Cake
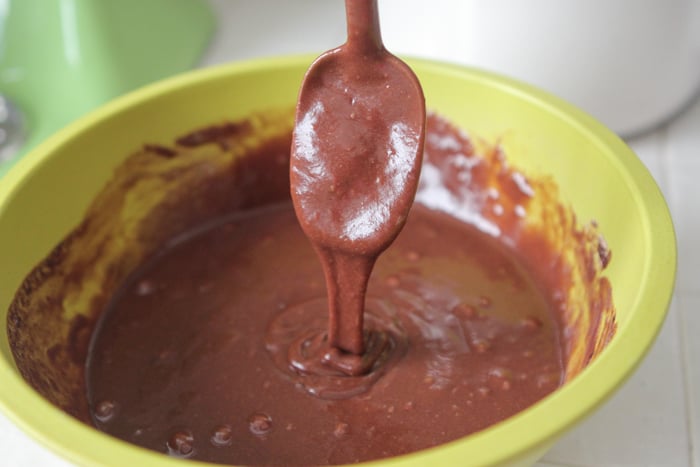
Oh yah!
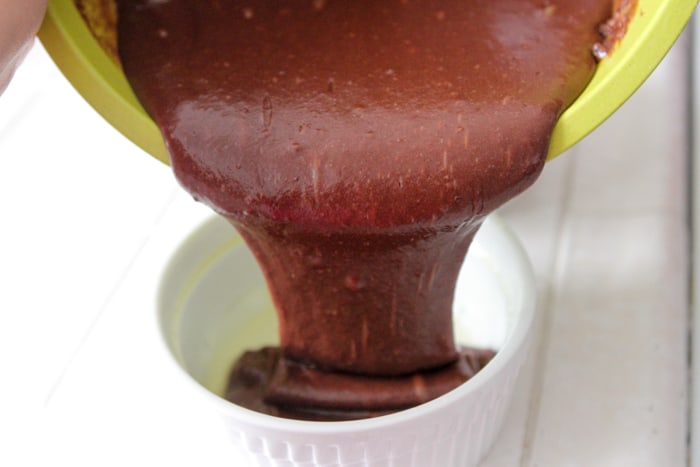
Pour your batter into two 2-cup ramekins sprayed with non stick cooking spray.
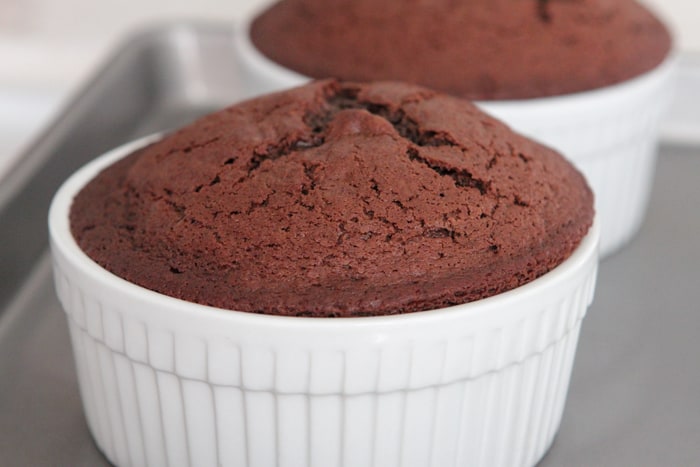
Let these babies cool then remove from ramekins.
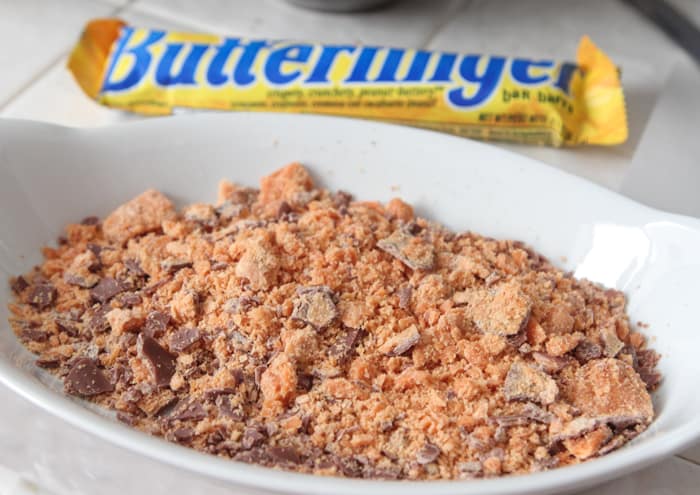
Crush a regular size Butterfinger for your cake layers.
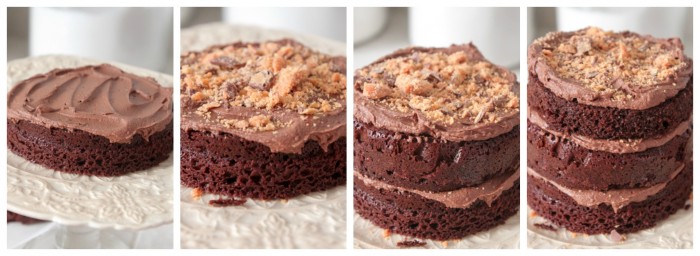
Slice each little cake, spread with chocolate buttercream, top with Buttercream and stack like so. Frost the top and sides then top with crushed Butterfinger. Yes!

Butterfinger Double Chocolate Layered Cake
Ingredients
- 1/2 cup milk chocolate chips
- 1/4 cup milk
- 1 cup all-purpose flour
- 1/3 cup cocoa powder
- 1 cup granulated sugar
- 1/2 teaspoon kosher salt
- 1/2 teaspoon baking soda
- 2 large eggs
- 1/2 cup sour cream
- 1/2 cup canola oil
- 2 sticks unsalted butter softened
- 2 cups powdered sugar
- 1/2 cup cocoa powder
- 1 regular size bar Butterfinger candy bar
Instructions
- Preheat oven to 350 degrees and spray two 2 cup ramekins with cooking spray and the bottoms lined with parchment paper.
- Heat the milk in a microwave safe bowl until hot, about 45-60 seconds. Remove and add chocolate chips. Let sit for 1 minute then stir to melt.
- In a stand mixer, mix the flour, cocoa powder, sugar, salt and baking soda to combine. Slowly add the eggs, sour cream, oil and melted chocolate mixture until combined. Divide batter between the two prepared ramekins. Bake for about 30 minutes, or until baked through. Remove and let cool. Remove cakes from ramekins and split horizontally.
- To prepare frosting, beat butter until creamy. Slowly add powdered sugar and cocoa until thick and spreadable. Spread a thin layer over each of the split cakes. Top each frosted layer with crushed Butterfinger bars. Stack cakes on top of each other onto your desired cake plate. Frost entire cake and top with more crushed Butterfinger bars.
Nutrition
Pin To Your Favorite Recipe Board


 Welcome to my online kitchen! Picky Palate is where you’ll find family friendly recipes along with the best Disney eats, tips and copycat recipes!
you did a great job with the challenge and the cake – oh my!!!
I need this cake in my belly right now! I love the uniqueness of the cake stand too! You are so clever!! 😀
What a fun idea and looks amazing! I want a bite so bad!
I love this mini cake! Baking the layers in ramekins in such an awesome idea!
How adorable! I love that it’s a smaller cake! But it’s totally loaded with chocolate and butterfinger, which sounds to die for!
I wish we had a cool thrift shop around where I live. It’s so hard to find vintage plates or flatware. Fun challenge!
GORGEOUS cake Jenny! Wish I could dive into this right now!
This looks too good for words!! Butterfingers are my absolute favorite!! I’m in trouble with this one 🙂
Mama Mia that looks amazing!!!
Wow, that baby cake looks so delicious and adorable and crunchable. Making your own cake stand is pretty awesome. It turned out great.
This cook looks so good – the height of it is amazing!! Great prop finds too 🙂
My belly just roared. This looks AMAZING.
Mmm! I’ll go for chocolate and butterfingers any day! I love the size; small tall cakes just seem so much more impressive. Very creative with the cake stand there 😉
Wow, thanks so much for a great excuse to bake a cake…the size!!! Perfect. You are very clever. To boot, it looks delicious.
Great photos and styling! I love a small and tall cake 🙂 I think that I’m making this for Father’s Day … the hubby loves a Butterfinger!
Totally love how this is a mini cake. Won’t feel guilty when I am eating the whole thing!!
If I were to bake your chocolate butterfingers cake only 1 layer, what size pan do you recommend and baking time/temp
Thank you!
wow, this is incredible, Jenny!!! come to mama!
Looks incredible! Love all the layers.
Whoa, mama! This 4-layer cake looks incredible, Jenny! Brings new meaning to my love of Butterfingers, for sure.
Chocolate cake baked in ramekins; Wow! Chocolate Cake baked in ramekins with chocolate frosting topped with crushed Butterfingers; I am truly, madly, deeply in love with this recipe!!
All I can say is…ridiculous. This cake is ridiculously tempting. I love butterfingers!
The cake looks delicious! I also really love the cake stand. I’ve been looking for a stand for some time now but haven’t been able to find the right one. I might make one like you did, that is a GREAT idea!
OH MY GOD! Sooooo yummy!! I adore the size, and pretty much everything about it. And I love the challenge too!
What a delicious flavor for the cake!! And I love how adorable the little stand is!! Great styling- I love this segment that Amanda does 🙂
Yum! I’m drooling over this one!
Wonderful! Now I can make single individual cake for my friends. Thanks for the recipe!
Love it Jenny!! Thanks so much for submitting such a gorgeous and delicious cake… I cant WAIT to make it! You rock!
I love love that you used ramekins! So cute and perfect for a fun night (or a day ehen I need my own personal cake!)
Wow, love smaller cakes and this one is too adorable! What a fun challenge and great finds! Can’t get over how cute and delicious this cake looks! Love!
I love how tall it is! Looks delicious!
This cake is too cute! I need a small cake like this, with candy no less, in my life!
Such a gorgeous cake and what a fun challenge!! You guys are so creative!
I love this little cake!!! So cute…and I know it’s DELICIOUS!!!
That’s an impressive looking cake! And it looks delicious as well, great recipe!
Gorgeous cake!
There’s a million things I love about this post! First, the cake, the recipe itself, the fact that it’s a smaller cake in terms portions because I just can’t get through huge layer cakes before they go stale so your size is perfect!
Next, love the challenge. How FUN!!! I go to my local thrift shop every couple weeks and scour it for props. I love it when I find great plates for 2 bucks or something wonderful for under 5 bucks.
Love your creativity with making your own cakestand, too. Wow, Jenny! So impressed!