These No-Bake Cookies and Cream Bars are so chewy, rich and delicious! You’d never guess that this decadent dessert is made with just 3 ingredients! It’s not only delicious, it only takes about 15 minutes to prepare!
If you love marshmallow treats like we do, be sure to also try our Chewy No-Bake Nutter Butter Bars.
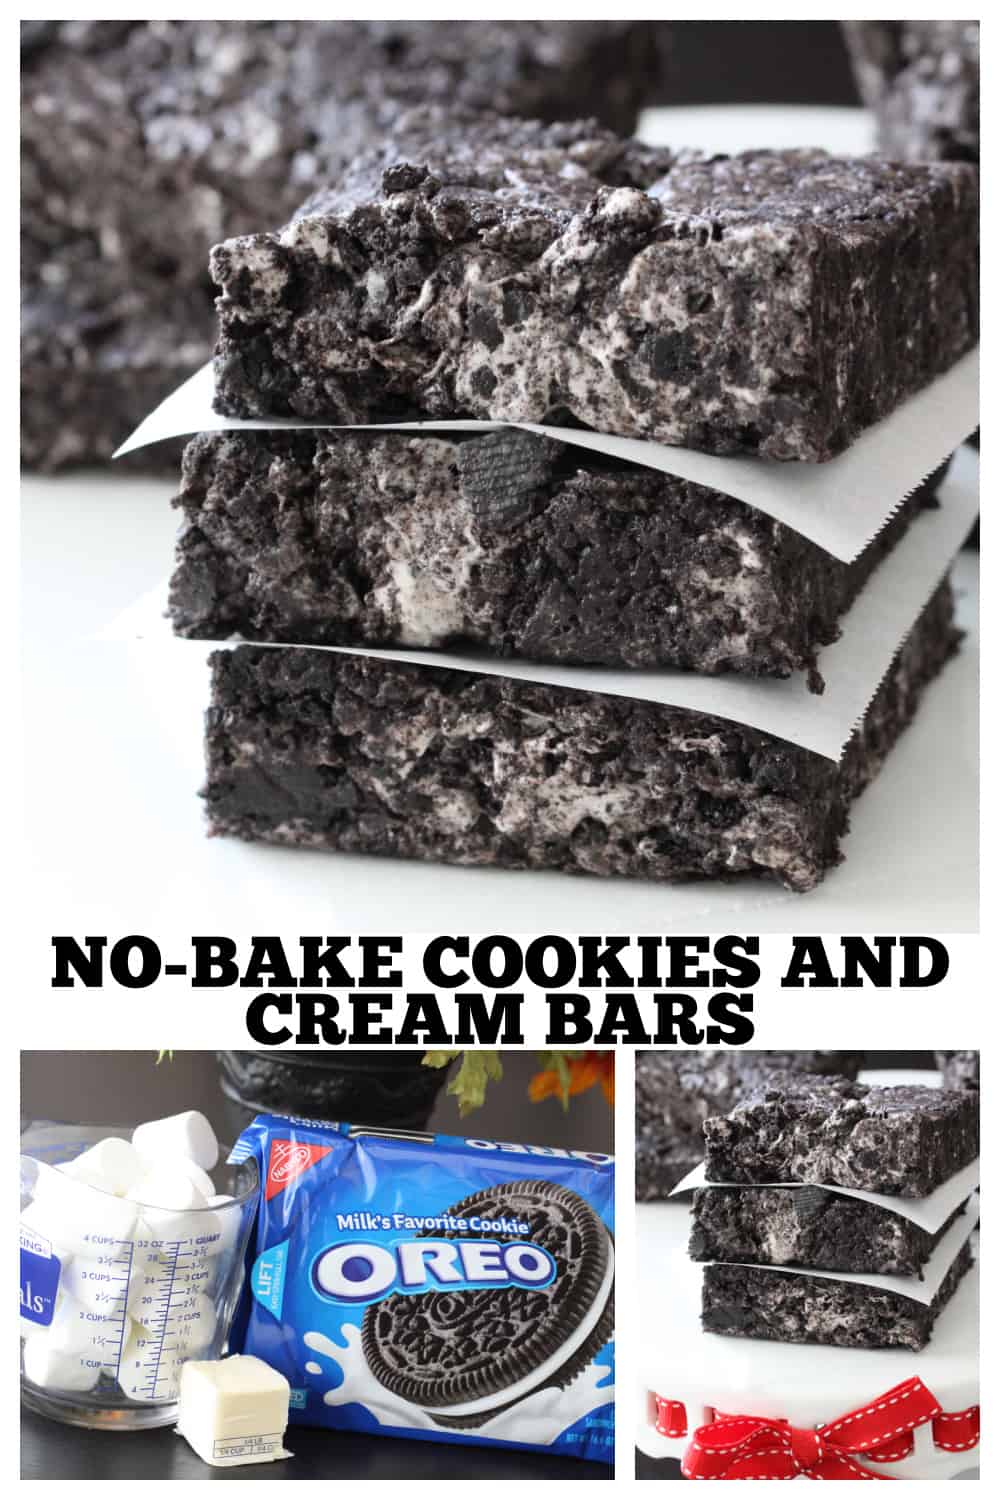
No-Bake Cookies and Cream Bars
I love a treat that can be whipped up in about 15 minutes. My boys and their buddies couldn’t get enough of these Chewy Oreo Bars we had as an after school snack this week. Yes, you use an entire package of Oreo Cookies, but what you get in return is a marshmallow-y Oreo treat that is worth every bite. Surprise the kids (and yourself) with this one, they’ll be all smiles, Enjoy.
Why You’ll Love This Recipe
- Only 3 Ingredients. One of my favorite things about this recipe is there’s only 3 ingredients you need to pick up from the grocery stores!
- Quick and Easy. Start to finish, you can get this recipe made in about 15 minutes.
- Great For Parties. These sweet squares are easy to transport to any party or occasion where dessert is needed.
Try my Oreo Stuffed Chocolate Chip Cookies recipe too! Be sure to follow Picky Palate on Instagram for daily recipe inspiration!
What You’ll Need
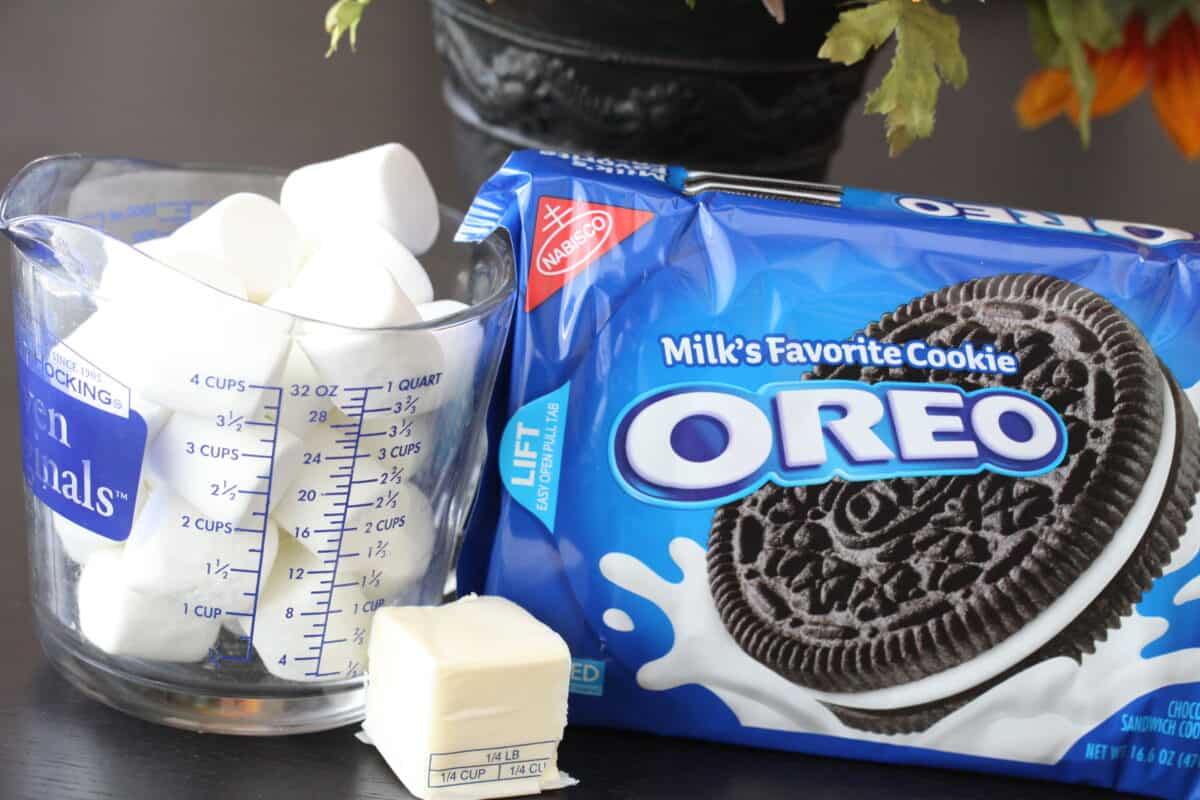
Here are the 3 ingredients needed to make this easy no bake dessert. See the recipe card located at the bottom of the post for full details and instructions.
- Oreo Cookies– You can use the regular Oreos or Double Stuf or even Mega if you like.
- Marshmallows– I used the full size large marshmallows for this recipe. Find marshmallows in the baking section of the grocery store. I’ve also made this recipe using mini marshmallows. You’ll use 7 cups of mini marshmallows and 6 tablespoons of butter if using mini.
- Butter– I generally use salted butter for my recipes, unsalted works just fine too.
How To Make No Bake Cookies and Cream Bars
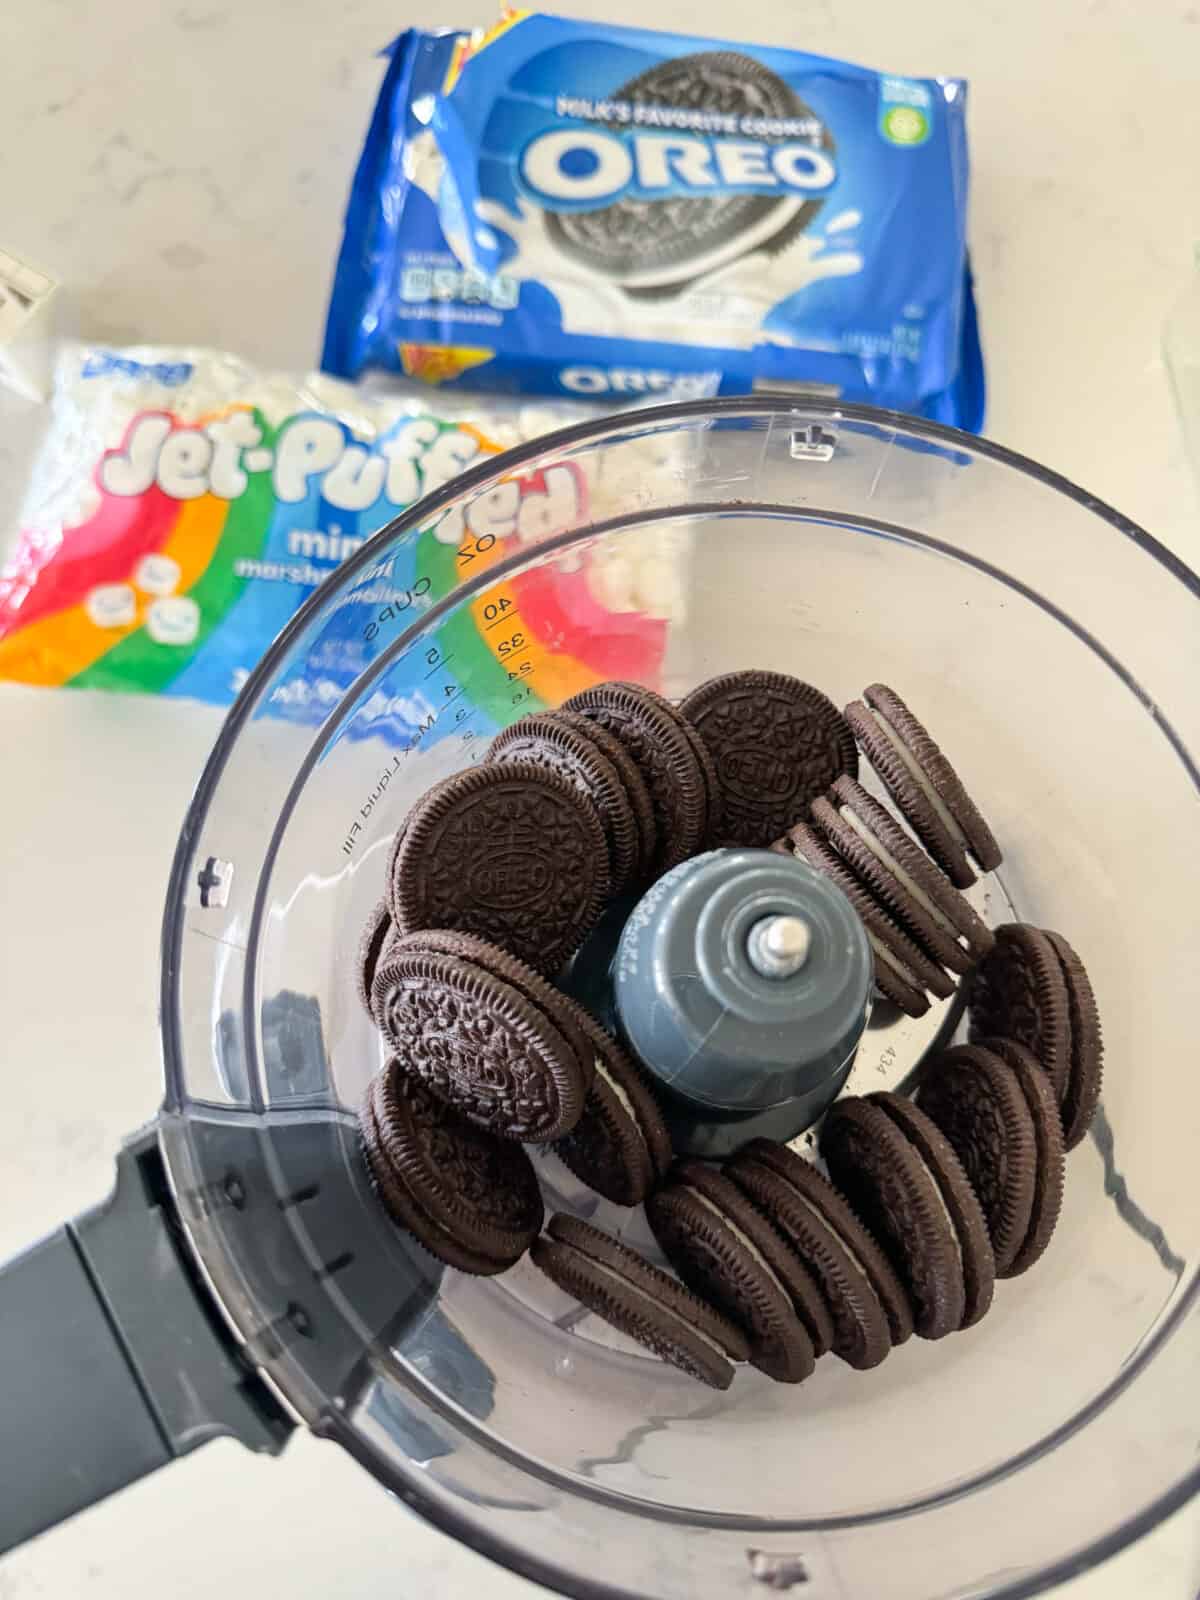
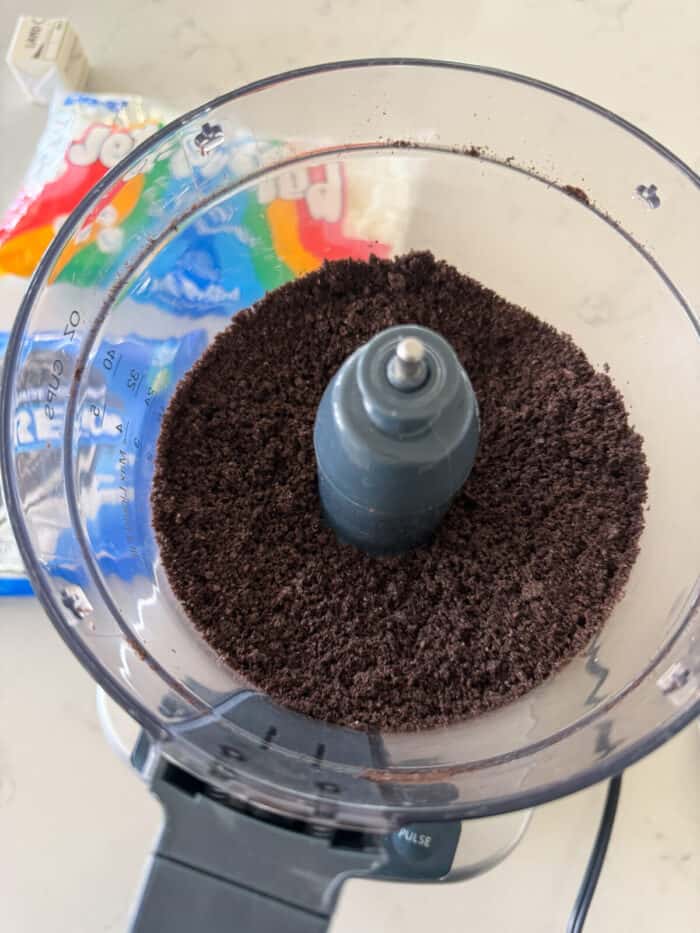
Crush Oreos. Place all of the Oreos in a food processor or blender and mix until ground. If you don’t have a food processor, you can use a high powered blender or even put the Oreo Cookies inside a large zipock and use a rolling pin to crush. I’ve used all methods. It’s great if there are some Oreo’s that aren’t fully crushed. Gives some good texture to the bars.
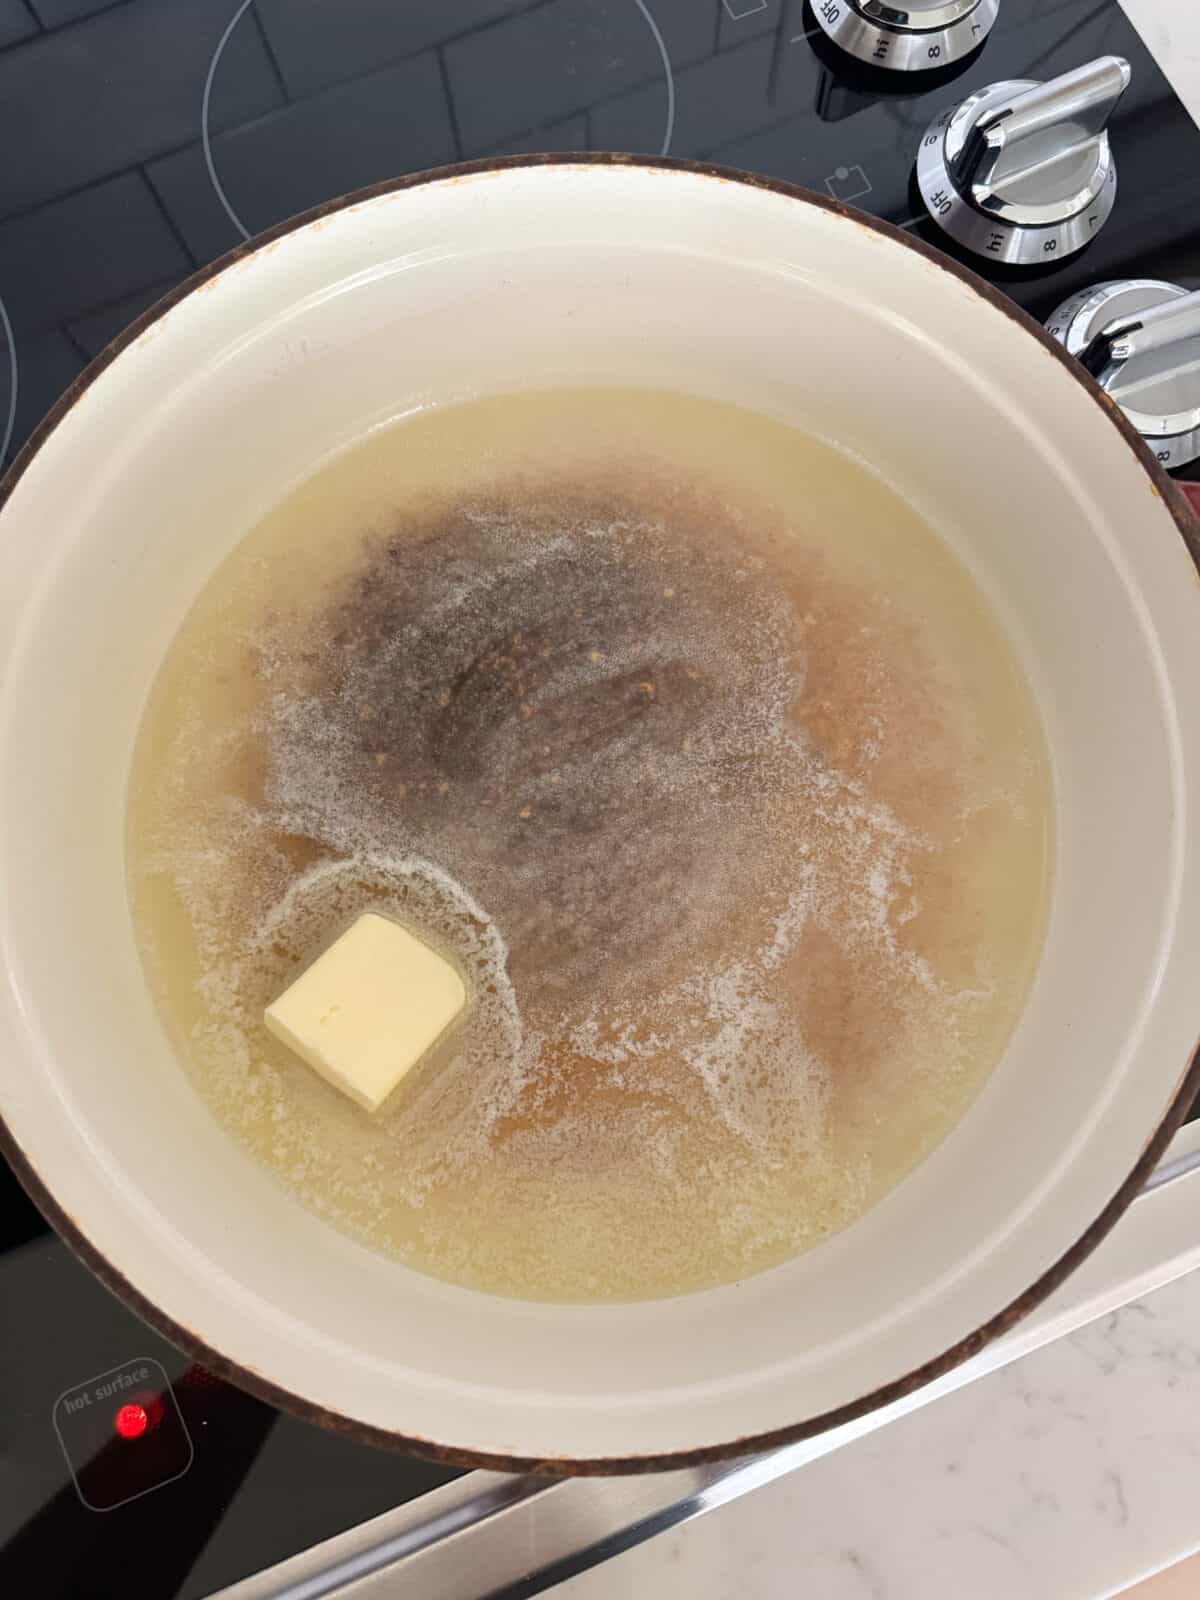
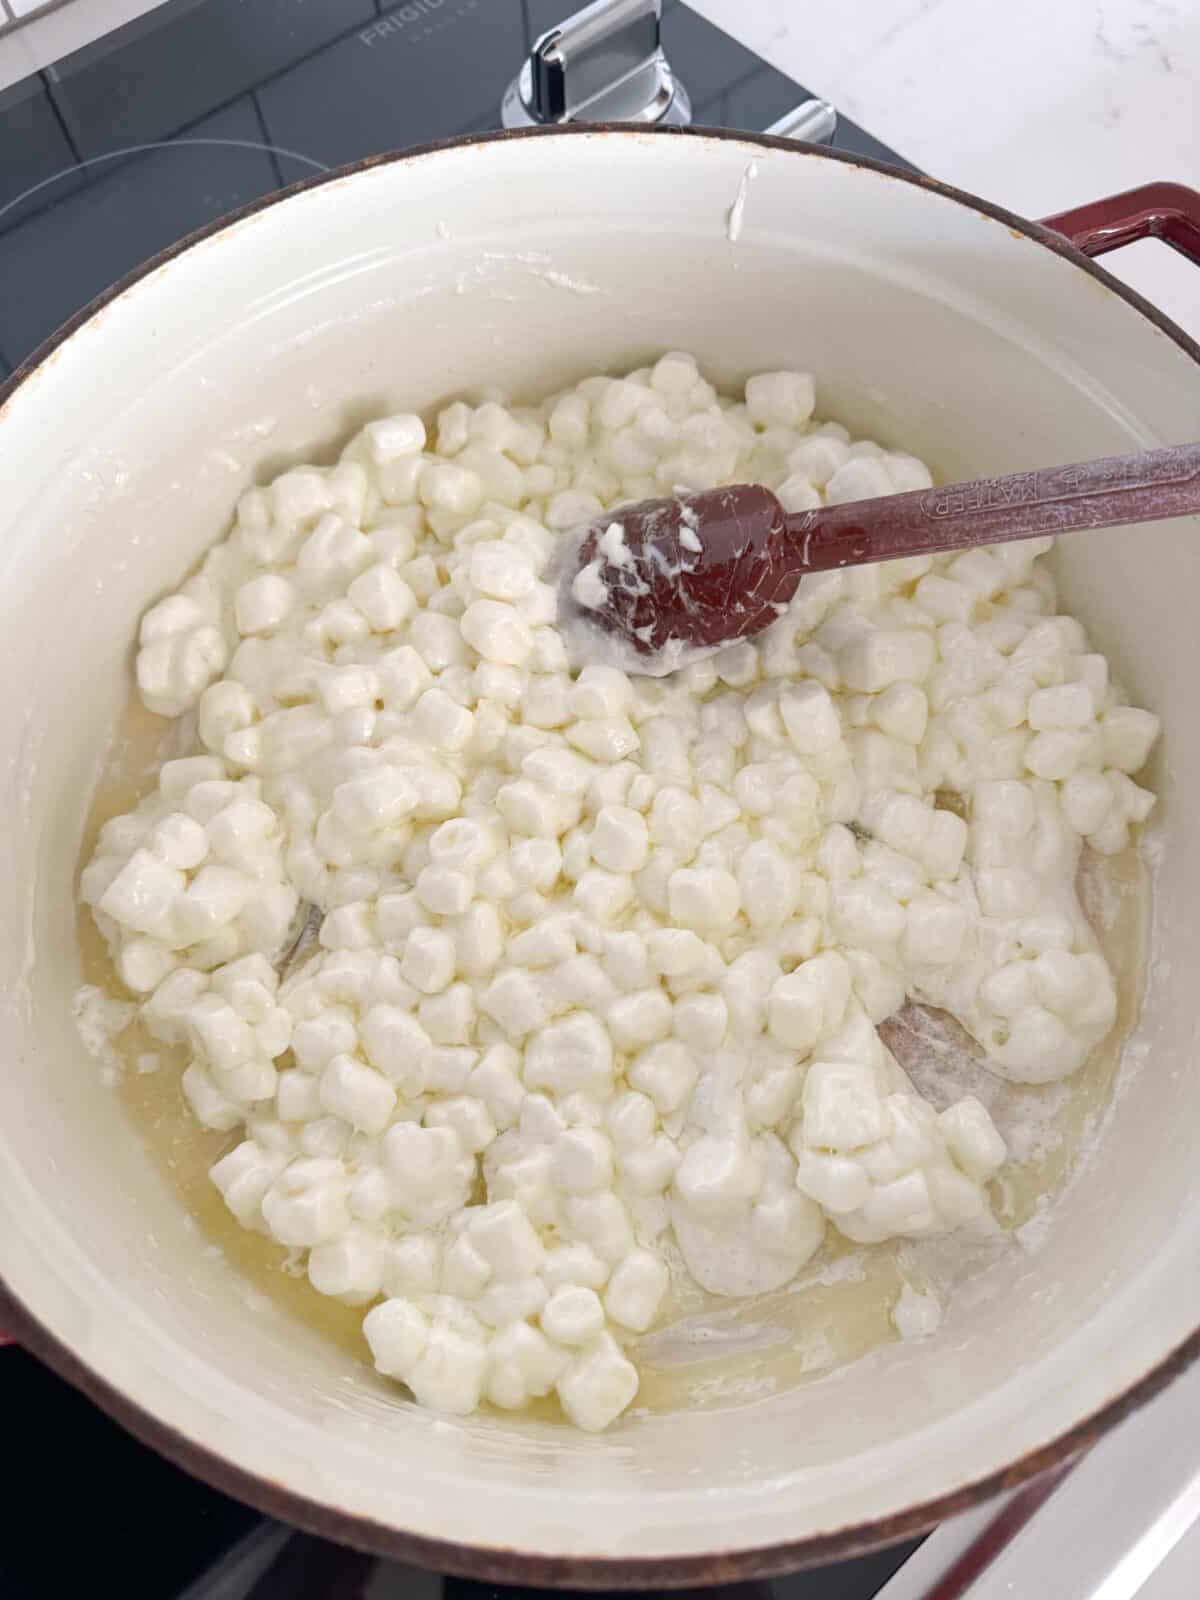
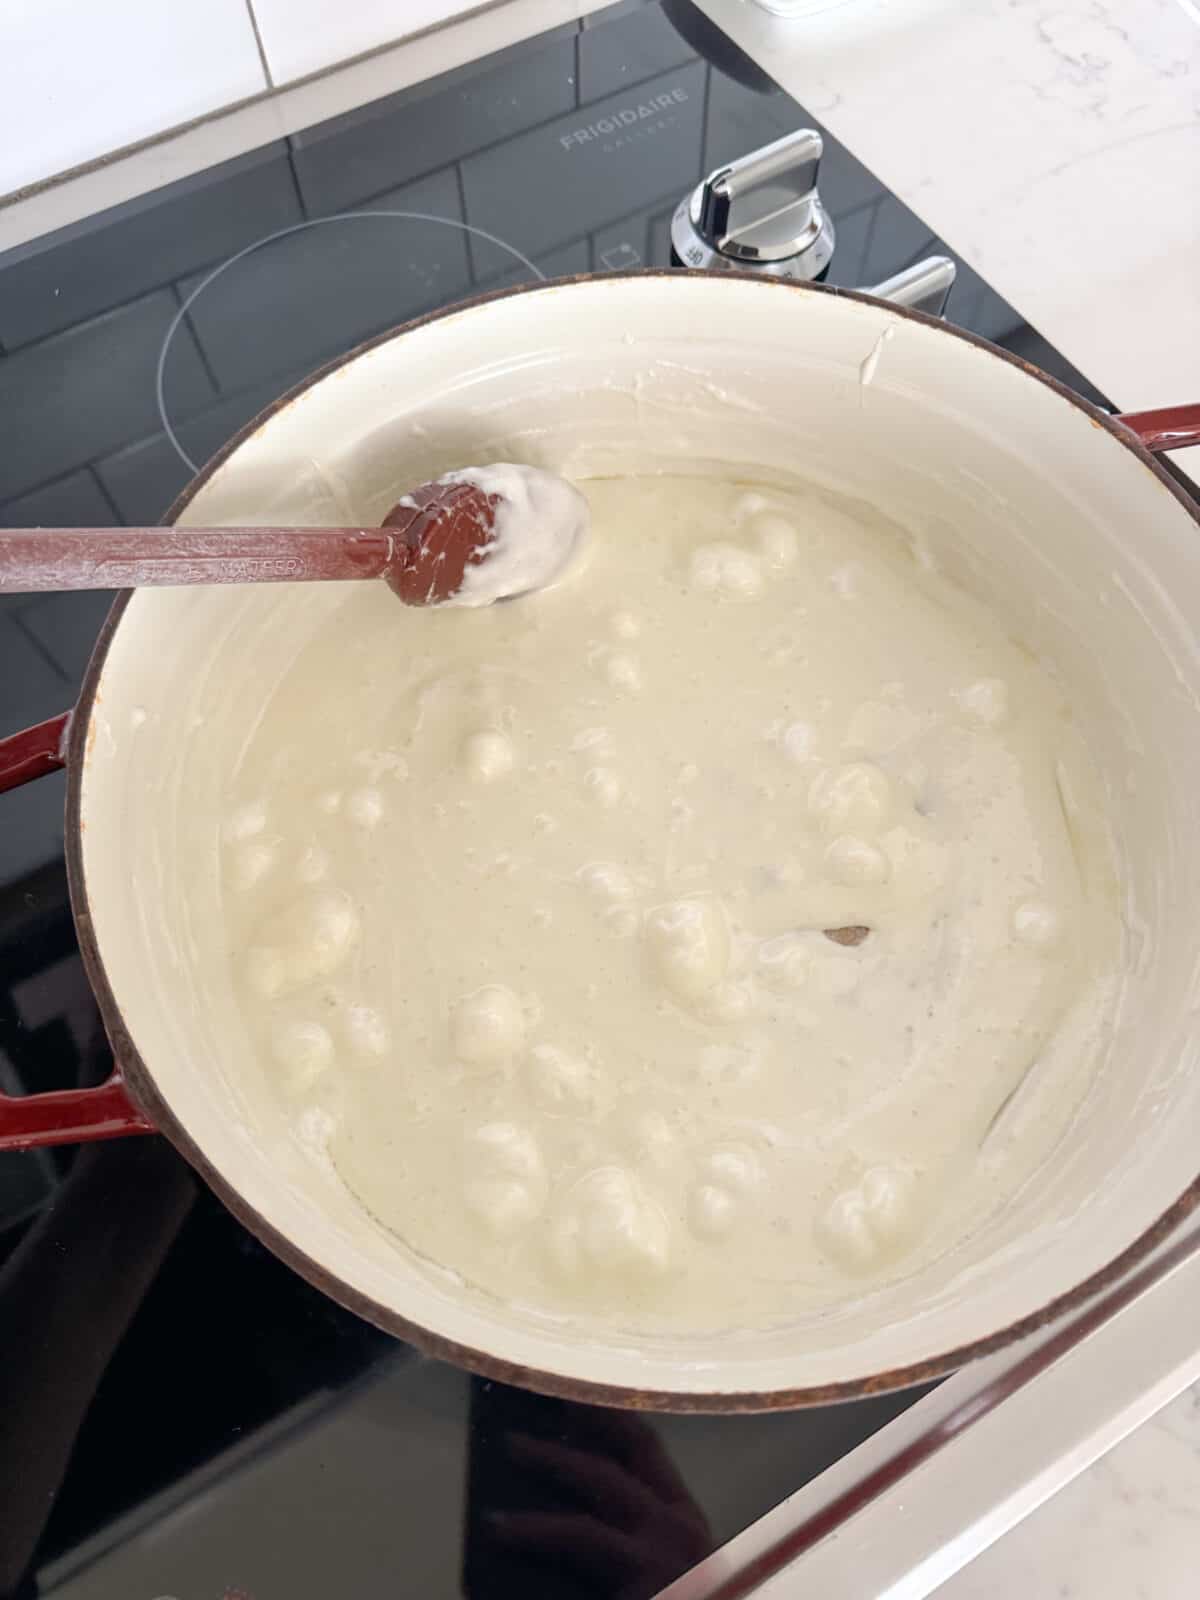
Melt Marshmallows. Melt marshmallows and butter in microwave in a large heat proof bowl until puffed, about 1 1/2- 2 minutes. You can also melt the marshmallows and butter over the stovetop in a large pot if desired. If using a pot over stovetop melt over medium to medium low heat and stir contantly until melted.
Note. If using large marshmallows, you use 5 cups large marshmallows and 4 tablespoons butter. If using mini marshmallows, use 7 cups mini marshmallows and 6 tablespoons butter. You can melt butter and marshmallows in a large heatproof bowl in the microwave for 1 1/2-2 minutes, or over stovetop in a large pot over medium heat stirring until melted.
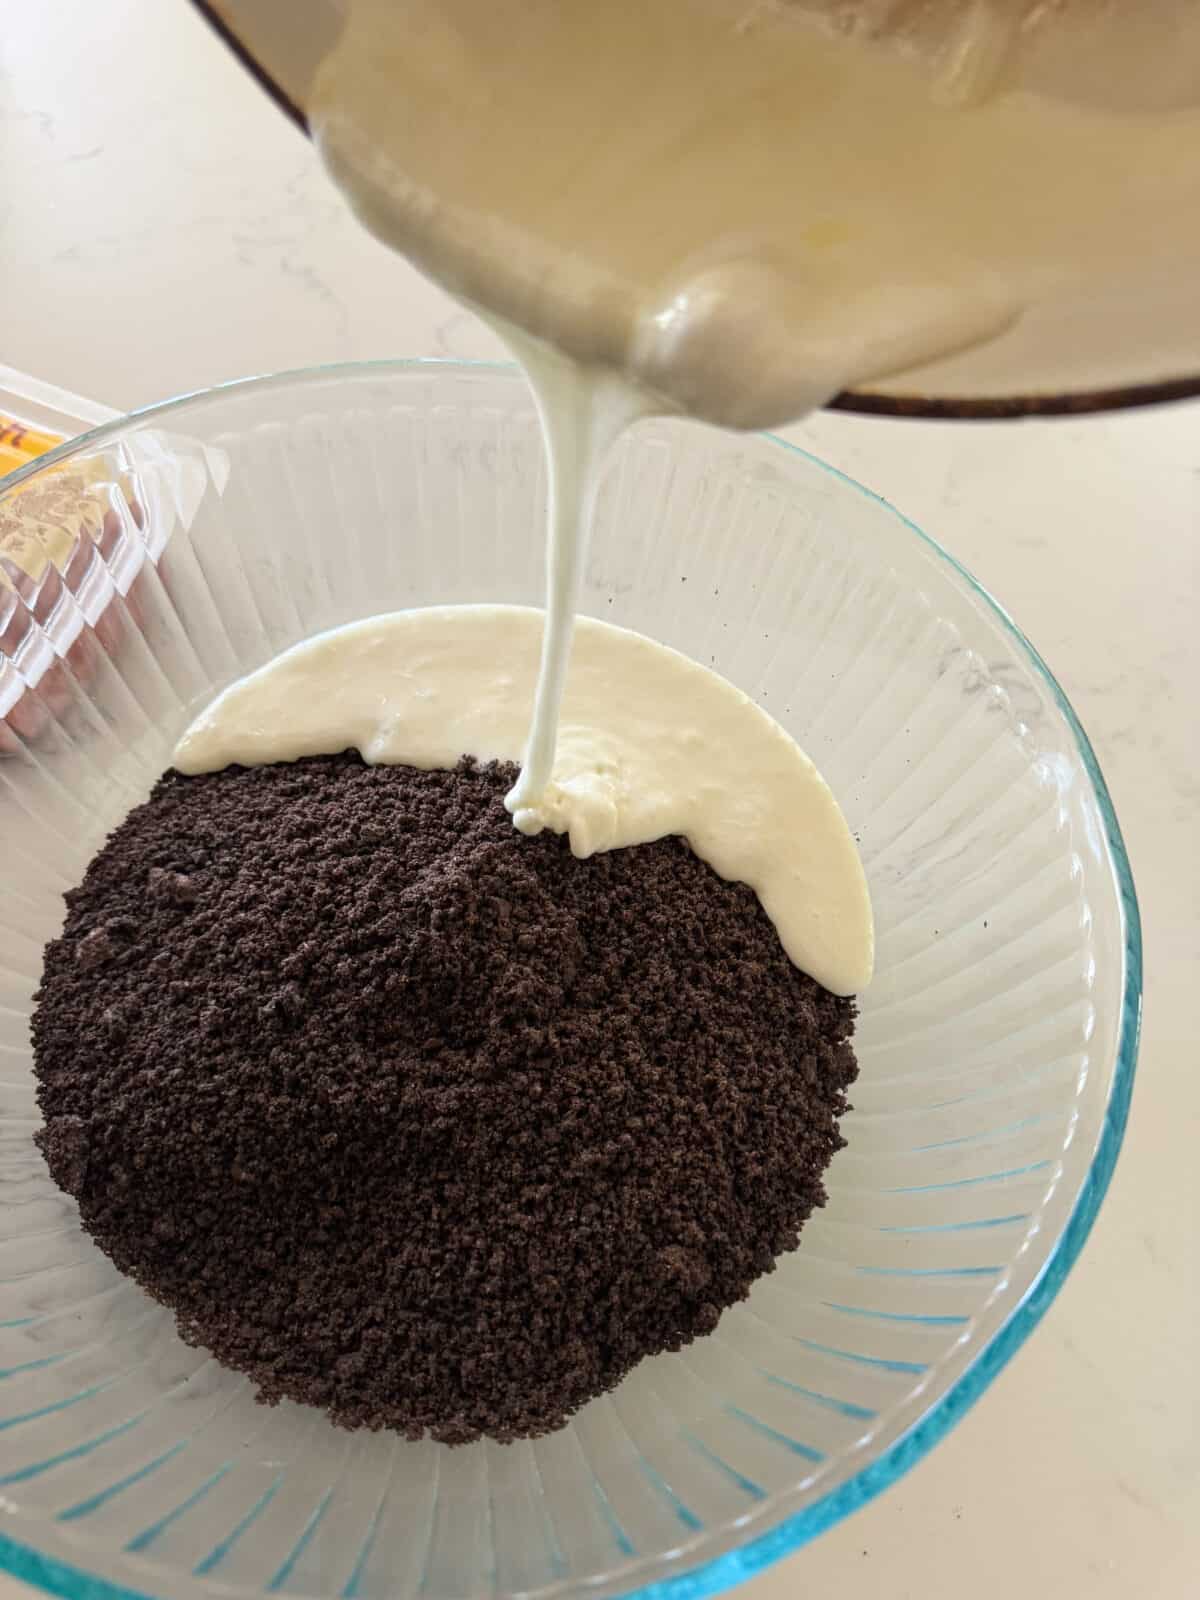
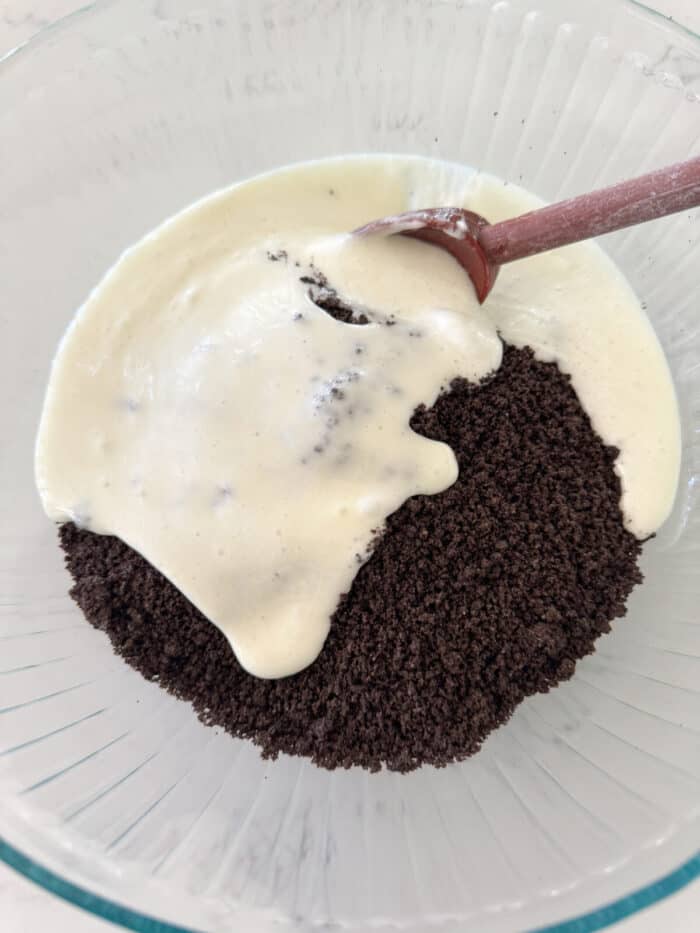
Combine Cookies and Melted Marshmallows. Working quickly, pour the ground cookies into the melted puffed marshmallows. Marshmallows will begin to set up pretty quick.
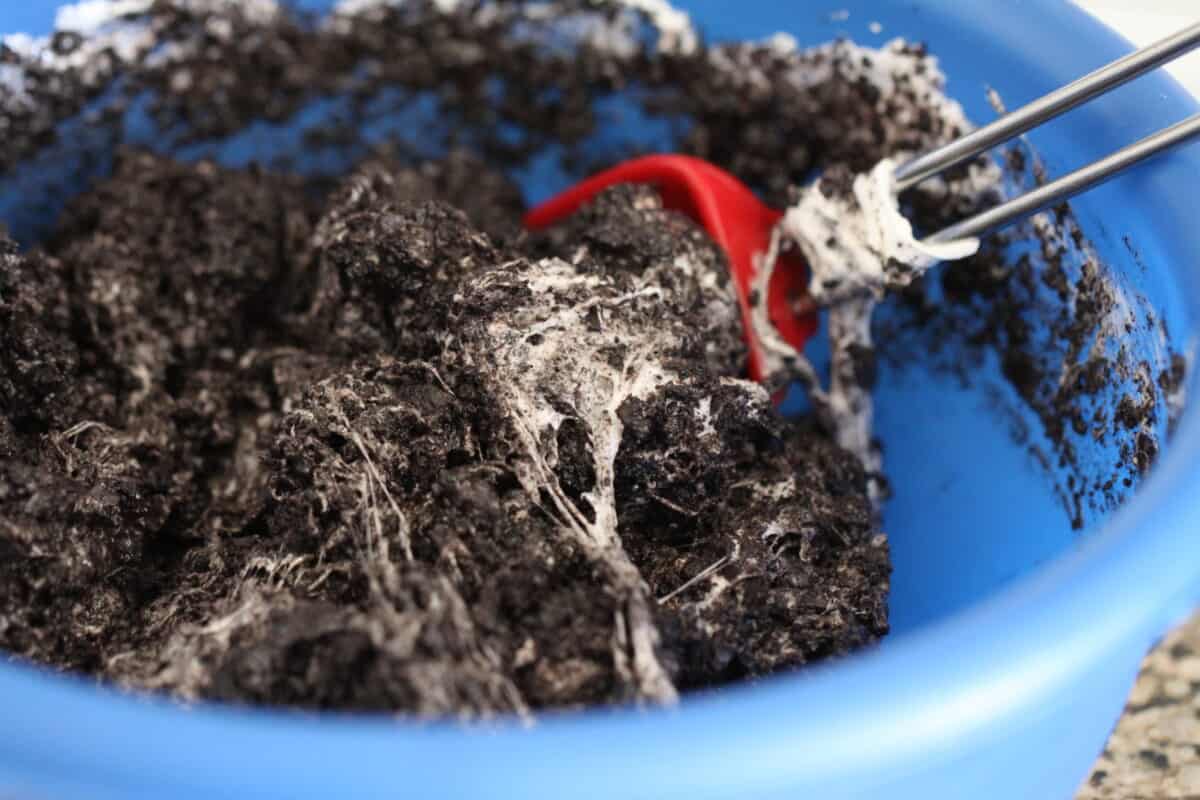
Transfer Mixture To Pan. Mix quickly and press into an 8×8 inch pan and let cool for 10 minutes. Cut into squares to serve.
Recipe Tips For Success
- Measure Out Ingredients In Advance. Make sure you measure out your ingredients before starting. Once the marshmallow mixture is melted, you need to work quick.
- Use Fresh Marshmallows. Check your mini marshmallows to make sure they’re fresh and soft. Sometimes when they’ve sat in the pantry for too long, they get hard.
- Plastic Knife. Use a plastic knife to cut into squares to prevent sticking. I cut into squares before the treats get to room temperature. Still somewhat soft makes for easier cutting.
- Grease Hands. Use a little softened butter or cooking spray on your hands to press warm treats into pan. Prevents it sticking to your hands.
How To Serve
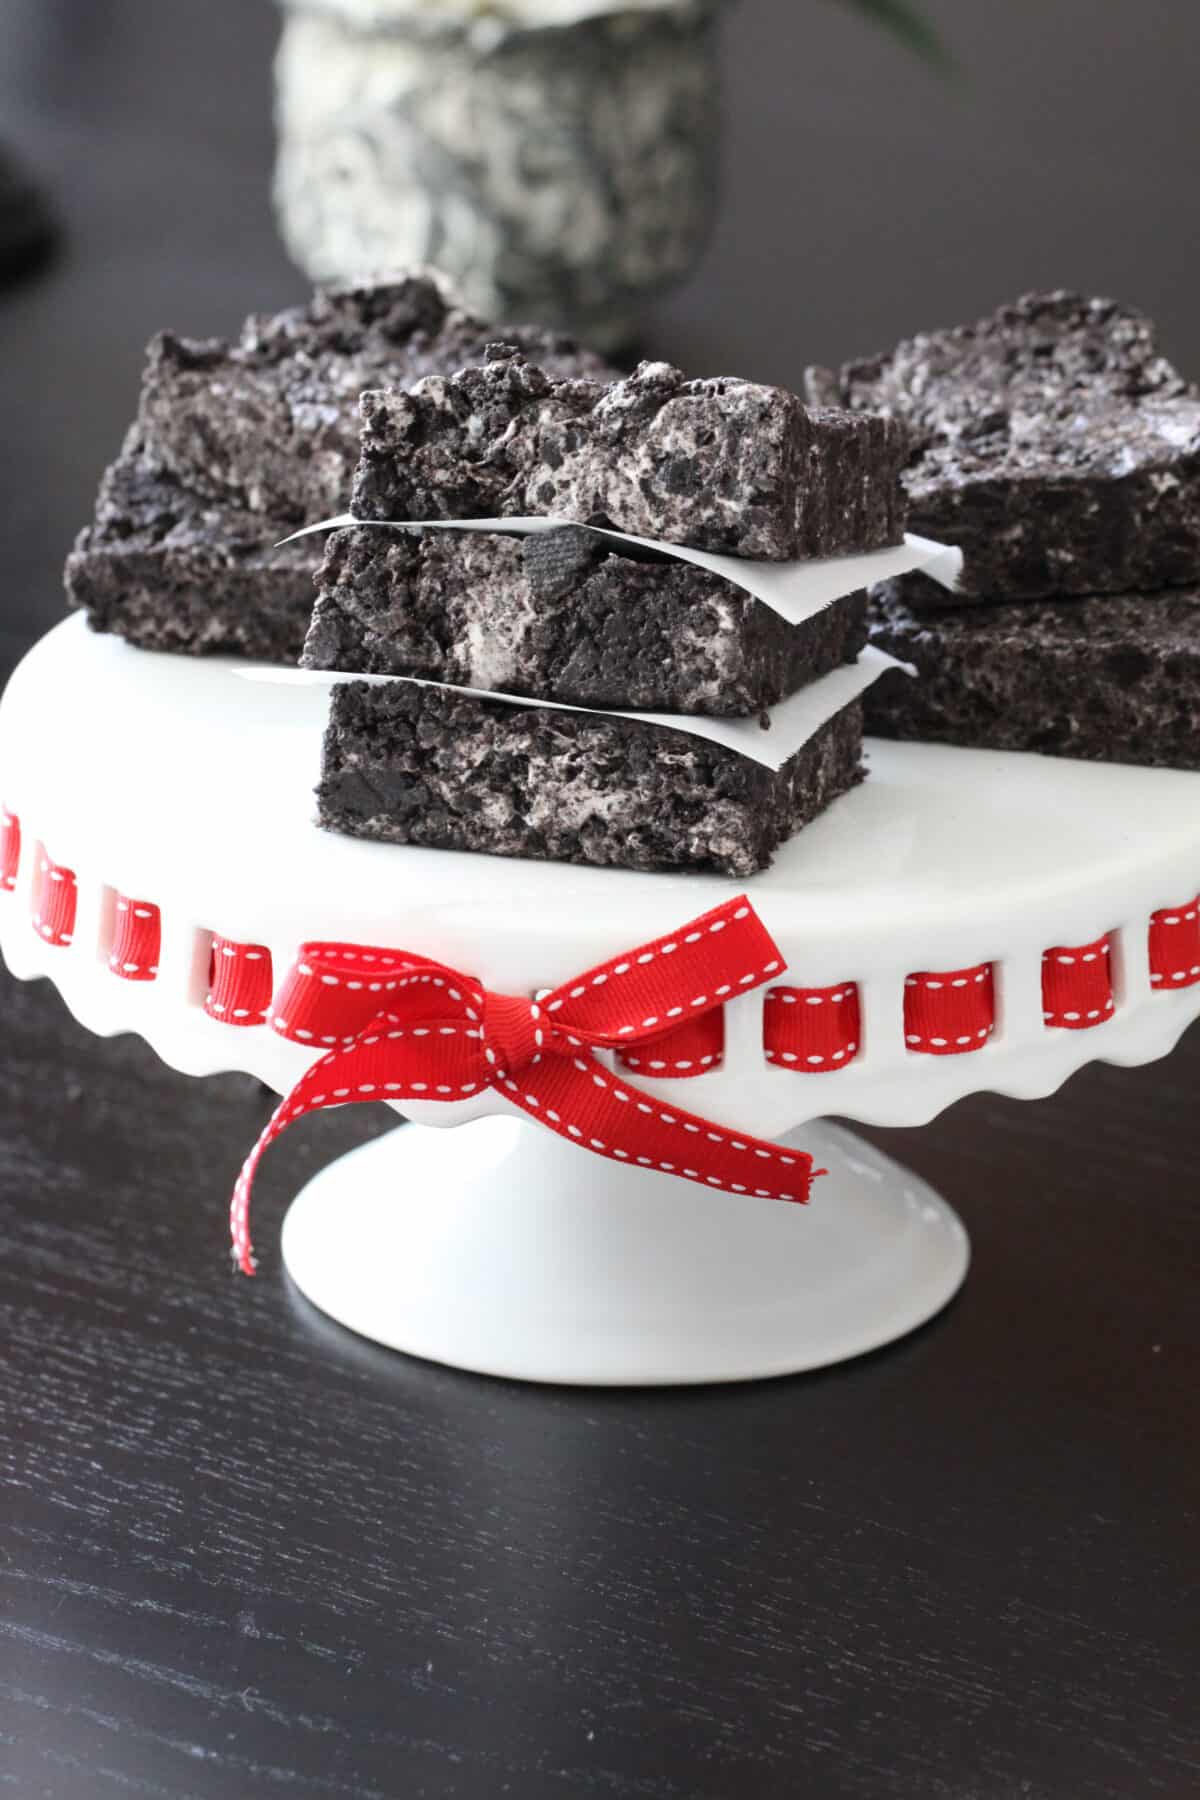
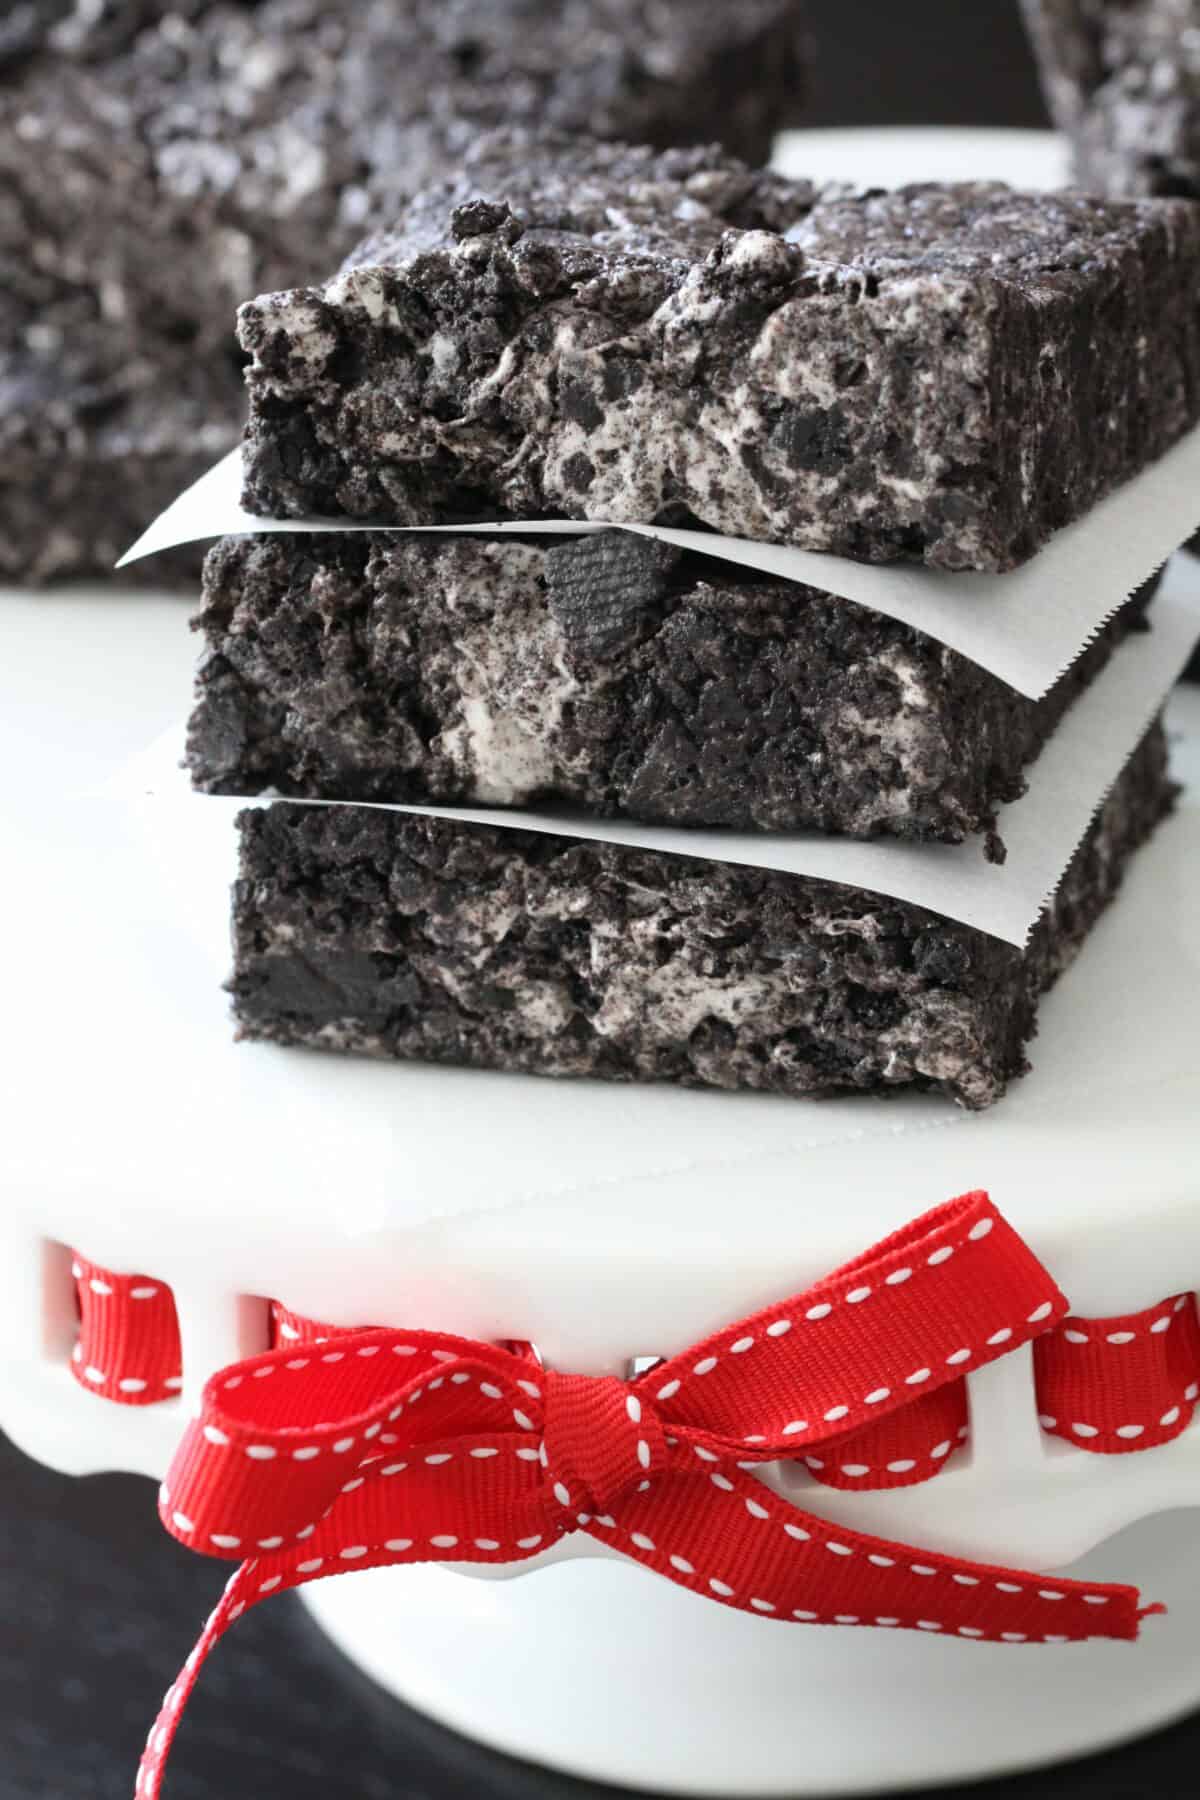
Serve bars room temperature on a cake stand or individual plates. Use a plastic knife to cut into squares while bars are still semi-soft or use a sharp knife that’s been buttered or sprayed with cooking spray. These cookie bars are so perfect for any dessert party, birthdays, holidays. So easy and everyone really loves them!
Leftovers
Store any leftovers in an airtight container or Ziplock bag for up to 3 days for best tasting results. I don’t recommend freezing or refrigerating these bars.
Try More Easy Marshmallow Desserts
No-Bake Cookies and Cream Bars
Equipment
- Microwave
- food processor
- mixing bowl
- mixing spoons
- plastic knife
- parchment paper
- rubber spatula
Ingredients
- One 16 oz package of Oreo
- 5 cups Large Marshmallows or use 7 cups mini marshmallows
- 4 tablespoons butter 6 tablespoons if using mini marshmallows
Instructions
- Place Oreos in food processor and pulse until ground.
- Melt marshmallows and butter in microwave in a large heat proof bowl until puffed, about 1 1/2- 2 minutes. If using the stovetop method to melt your marshmallows, place butter into large pot over medium heat to melt. Stir in marshmallows until melted. Remove from heat and pour in ground Oreo Cookies. Stir to combine then transfer to a parchment lined or greased 8×8 inch baking pan. Note: If using mini marshmallows, measure out 7 cups of mini marshmallows and 6 tablespoons of butter.
- Let set up for 10 minutes. Use plastic knife to cut bars into squares to prevent sticking.
Video
Notes
- Mini Marshmallows. If you’re using mini marshmallows, you’ll need 7 cups mini marshmallows and 6 tablespoons of butter.
- Stovetop Method. If you’d like to melt your marshmallows over the stovetop, place butter into a large pot over medium heat until melted. Add marshmallows, stirring until melted.
- Measure Out Ingredients In Advance. Make sure you measure out your ingredients before starting. Once the marshmallow mixture is melted, you need to work quick.
- Use Fresh Marshmallows. Check your large or mini marshmallows to make sure they’re fresh and soft. Sometimes when they’ve sat in the pantry for too long, they get hard.
- Plastic Knife. Use a plastic knife to cut into squares to prevent sticking. I cut into squares before the treats get to room temperature. Still somewhat soft makes for easier cutting.
- Grease Hands. Use a little softened butter or cooking spray on your hands to press warm treats into pan. Prevents it sticking to your hands.
Nutrition


 Welcome to my online kitchen! Picky Palate is where you’ll find family friendly recipes along with the best Disney eats, tips and copycat recipes!
Question…I tried this and they are waaay to sticky and soft to even remove from the foil! (Even after two hours, and about an hour in the fridge!) I followed the directions, used the right amount of ingredients…what could I have done wrong?
This is soooo yummy and really fun to make, thank you!!! I suggest letting kids help make this- they will love watching the marshmallows puff up, haha
Hey..Every cookie, bar or any other dessert u make is soo innovative & different & simplified..u have an amazing talent of mixing different ingredients in such an innovative way..truly an inspiration..am soon going to try once of ur recipes!! Thanks!
Bindi
So, I made these tonight! We made a few adjustments. We have a family of 6, which is including two teenage boys.
2 non-stop hungry teenage boys + anything sweet = me having to double this recipe. 🙂
So to mix things up a bit, one of the bags of Oreos was the regular kind, the other was the Golden Oreos. So that was different. Also, after it set up, I drizzled white chocolate over the top and then sprinkled mini semi-sweet chocolate chips. Mmmmm!!! These were DIVINE!!!! I am making a batch of your Nutter Butter ones next!!!
Thanks for another home run recipe!!!
Y-U-M.
i just made them. but i used fluff. i think i used a bit too much. mine are a gray color. hoping they taste good!!
These look very tasty. Thanks for sharing the recipe. 🙂
This looks like those rice crispies treats. But waaaaay more better. How about using chocolate chips next.
Ok, I have to tell you that I am a little mad at you for posting this recipe. I made these tonight, and they are so good! It’s taking all my self control not to eat the whole batch. YUM! So dangerous.
I made these today and they were great! the only thing that I would change is that I would use less Oreos or more marshmallow mixture, because they came out very dense. I may have pulsed them too much in my food processor, I’m not sure. Overall, everyone loved them though!
These were an absolute sticky ooey gooey mess… But gees they taste awesome! How do you keep half of the mixture from sticking to the bowl! And how do you cut it? We just tore off chunks and went to town!
Yum, I cant wait to try this recipe. Where did you buy your white dessert plate with the red ribbon thats in this post?! I just love it!
These are Rice Krispie Treats (yuck!) made with Oreos instead! Cool! If I could only start liking marshmallow more (which is why I don’t like RK treats). They look great, anyhow!
Oh my gosh! These look sooooooooo yummy – but only wish they were low in fat as I need to start losing some weight. Just looking at them makes me gain 3 pounds..lol.
Linda
We just made these and they were EXCELLENT!
Oh WOW I am so excited to try these. They look amazing!
Once again. PURE genius. Must. Make. These.
Oh my heavens. Just found this through stumbleupon. The kids are going to be in oreo and marshmallow heaven!
Jenny, How in the world do you stay so thin while making all these fabulous treats?!? You’re the best!
My 13 yo daughter invited several of her friends over this afternoon to make these and watch a movie. They used the Wilton 6 cavity mini heart mold & they turned out so cute! I took a few pix but can’t add any to this comment. Anyway – thanks for the fun idea! A lot of teen aged girls had a blast w/ these today 🙂
Made them last night. Yum!!!!!!
I tried these, they were too gooey. Instead of grounding the cookies, leave them a lil chunky and it holds a lot better. I put mine in the fridge and I liked it a lot better.
I made these today and everyone who had them which was quite a few LOVED them….we also topped them with a little powdered sugar 🙂
simple easy and delicious this is my kind of recipe
Num! My kids are Oreo freaks…I will be making these and soon!
These look amazing!!!!!! Seriously can’t wait to try these. Oreo’s never go out of style!
These look incredible!!! And I’m already picturing them made with Nutter Butters….YUM!!! Thank you!
Just made them and threw in 1/3 Cup of Butterscotch chips. They are SO good and EASY. Thanks!! 😀
I’m loving these! And so easy too. What a great last-minute dessert idea!
Wow. I’ve done this with fruity pebbles, but I never thought of this! It looks SO good, and so easy! Thanks for this one…I’m always looking for quick desserts to make in a pinch.
Genius. Devilish, but genius.
Another simple, delicious, ingenius recipe! I’ll be making these for my son’s birthday treat. There’s nothing better than feeding the kids a bunch of sugar and then expecting them to sit quietly and learn. lol
Yum! I’m not a huge rice krispy treat fan but THESE I could get into!:)
Big gooey messes always turn out to be the best treats. These sound wonderful, Jenny!
WOW! You read my mind with this recipe. When I was little I used to always request from my mom to make me oreo brownies. They were a simple brownie mix that came with crushed oreos and white “glaze” to drizzy over. They were my absolute favorite! Of course, they stopped making those years ago and I kind of forgot about them until now!!! MMMM definitely going to be baking these this weekend and I’m so thankful they are SIMPLE!! Another great recipe =)
Oh my Ashley, those were my absolute favorite! I’ve tried to find them so many times or a homemade version of them. I’ll have to try these too!
These look fabulous! And I’m kind of obsessed with the fact that you don’t have to bake them 🙂
Genius! I’m def making these!