These No-Bake Cookies and Cream Bars are so chewy, rich and delicious! You’d never guess that this decadent dessert is made with just 3 ingredients! It’s not only delicious, it only takes about 15 minutes to prepare!
If you love marshmallow treats like we do, be sure to also try our Chewy No-Bake Nutter Butter Bars.
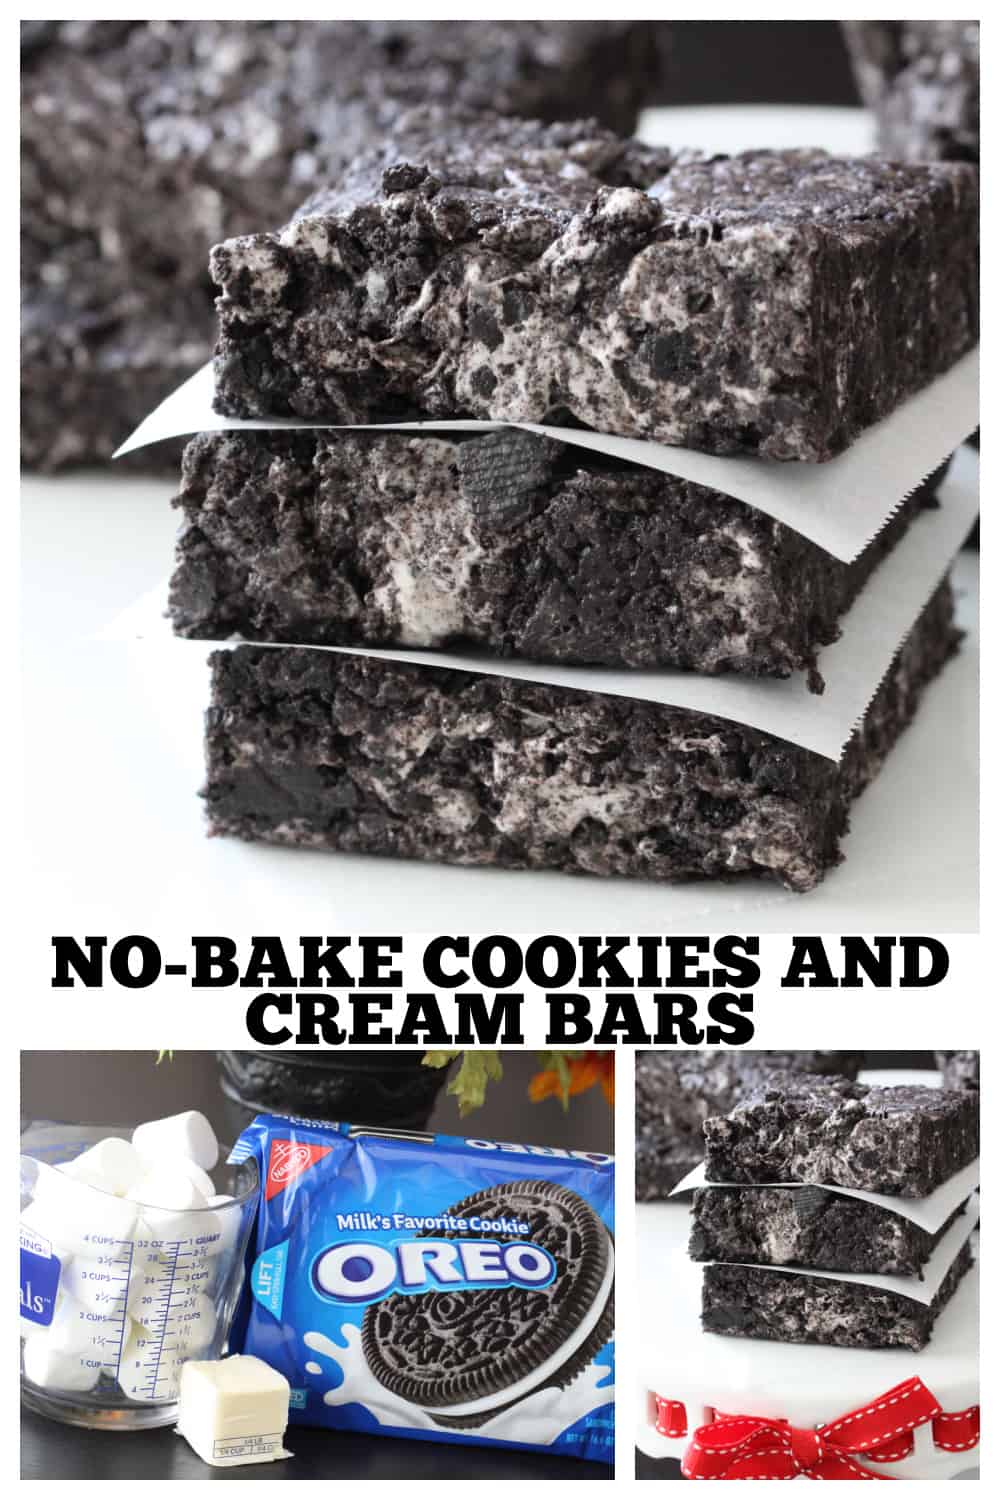
No-Bake Cookies and Cream Bars
I love a treat that can be whipped up in about 15 minutes. My boys and their buddies couldn’t get enough of these Chewy Oreo Bars we had as an after school snack this week. Yes, you use an entire package of Oreo Cookies, but what you get in return is a marshmallow-y Oreo treat that is worth every bite. Surprise the kids (and yourself) with this one, they’ll be all smiles, Enjoy.
Why You’ll Love This Recipe
- Only 3 Ingredients. One of my favorite things about this recipe is there’s only 3 ingredients you need to pick up from the grocery stores!
- Quick and Easy. Start to finish, you can get this recipe made in about 15 minutes.
- Great For Parties. These sweet squares are easy to transport to any party or occasion where dessert is needed.
Try my Oreo Stuffed Chocolate Chip Cookies recipe too! Be sure to follow Picky Palate on Instagram for daily recipe inspiration!
What You’ll Need
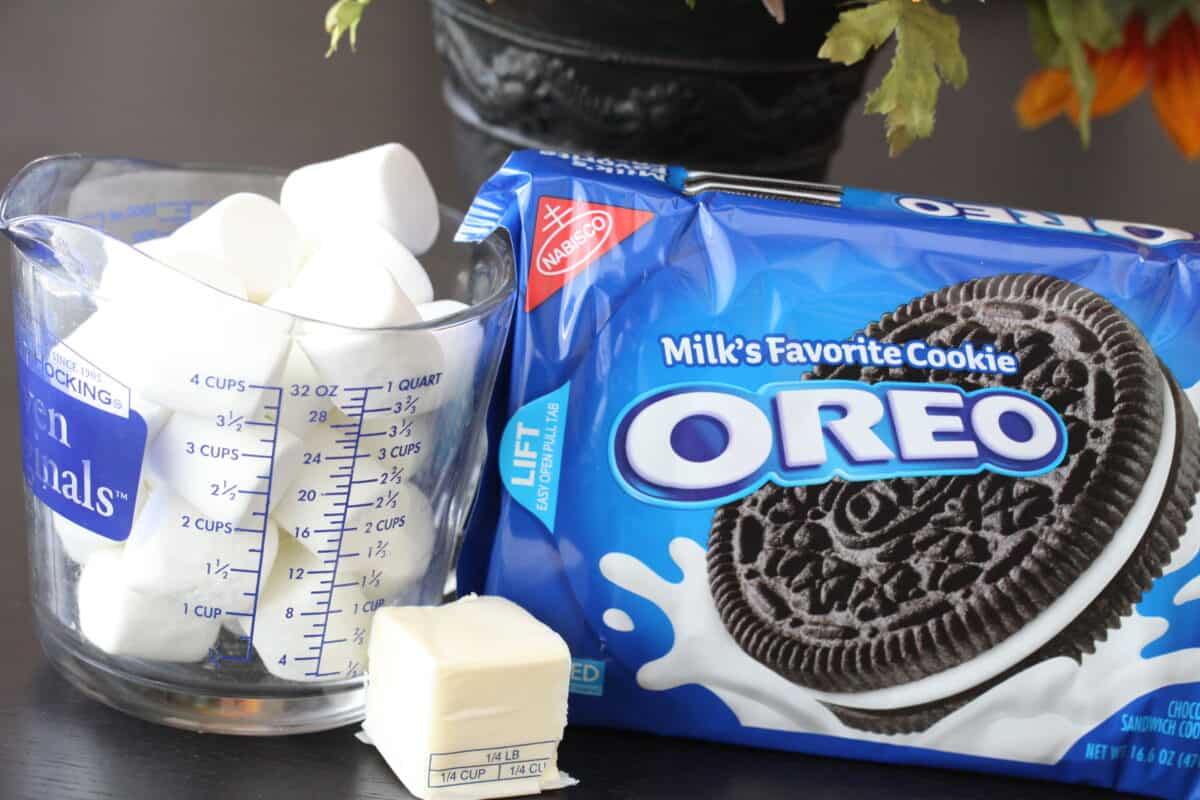
Here are the 3 ingredients needed to make this easy no bake dessert. See the recipe card located at the bottom of the post for full details and instructions.
- Oreo Cookies– You can use the regular Oreos or Double Stuf or even Mega if you like.
- Marshmallows– I used the full size large marshmallows for this recipe. Find marshmallows in the baking section of the grocery store. I’ve also made this recipe using mini marshmallows. You’ll use 7 cups of mini marshmallows and 6 tablespoons of butter if using mini.
- Butter– I generally use salted butter for my recipes, unsalted works just fine too.
How To Make No Bake Cookies and Cream Bars
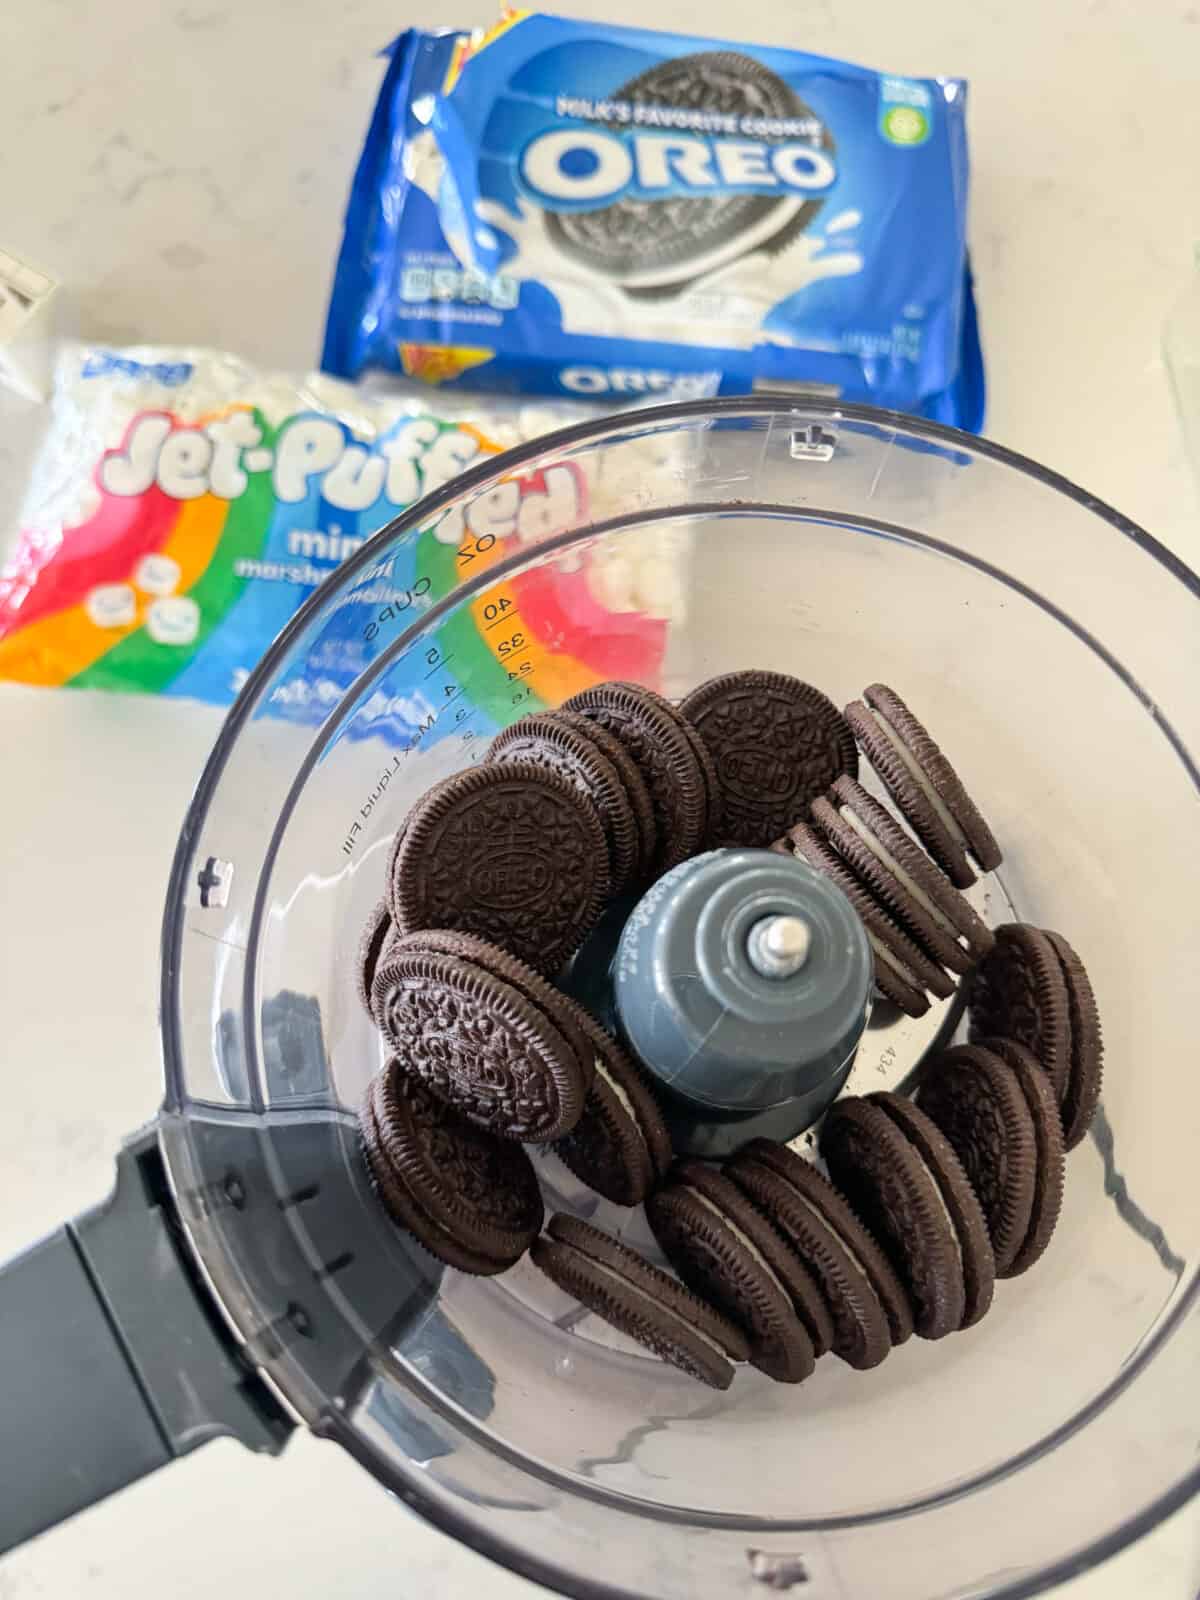
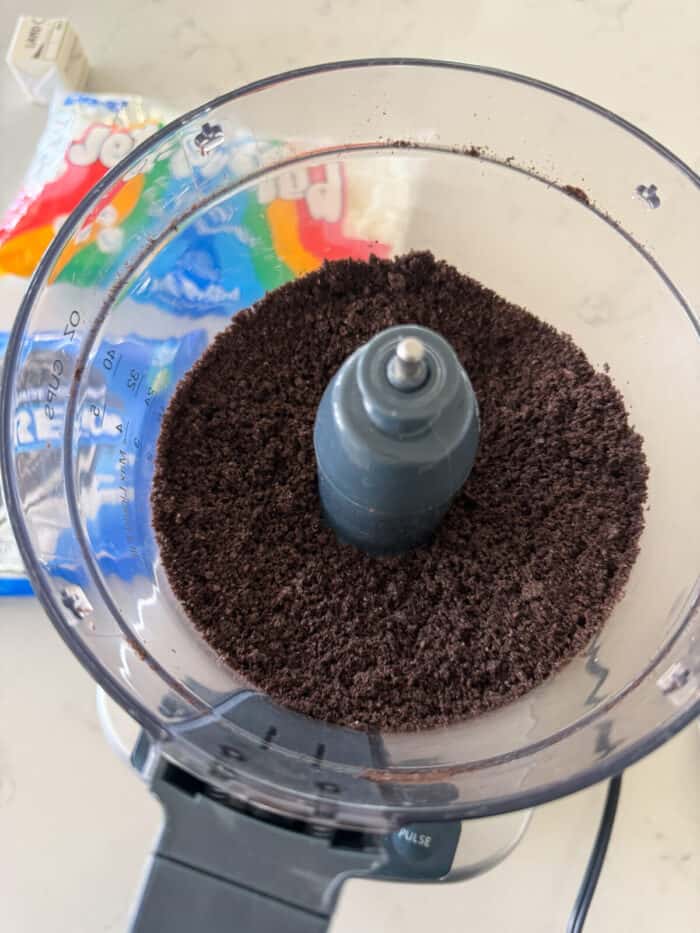
Crush Oreos. Place all of the Oreos in a food processor or blender and mix until ground. If you don’t have a food processor, you can use a high powered blender or even put the Oreo Cookies inside a large zipock and use a rolling pin to crush. I’ve used all methods. It’s great if there are some Oreo’s that aren’t fully crushed. Gives some good texture to the bars.
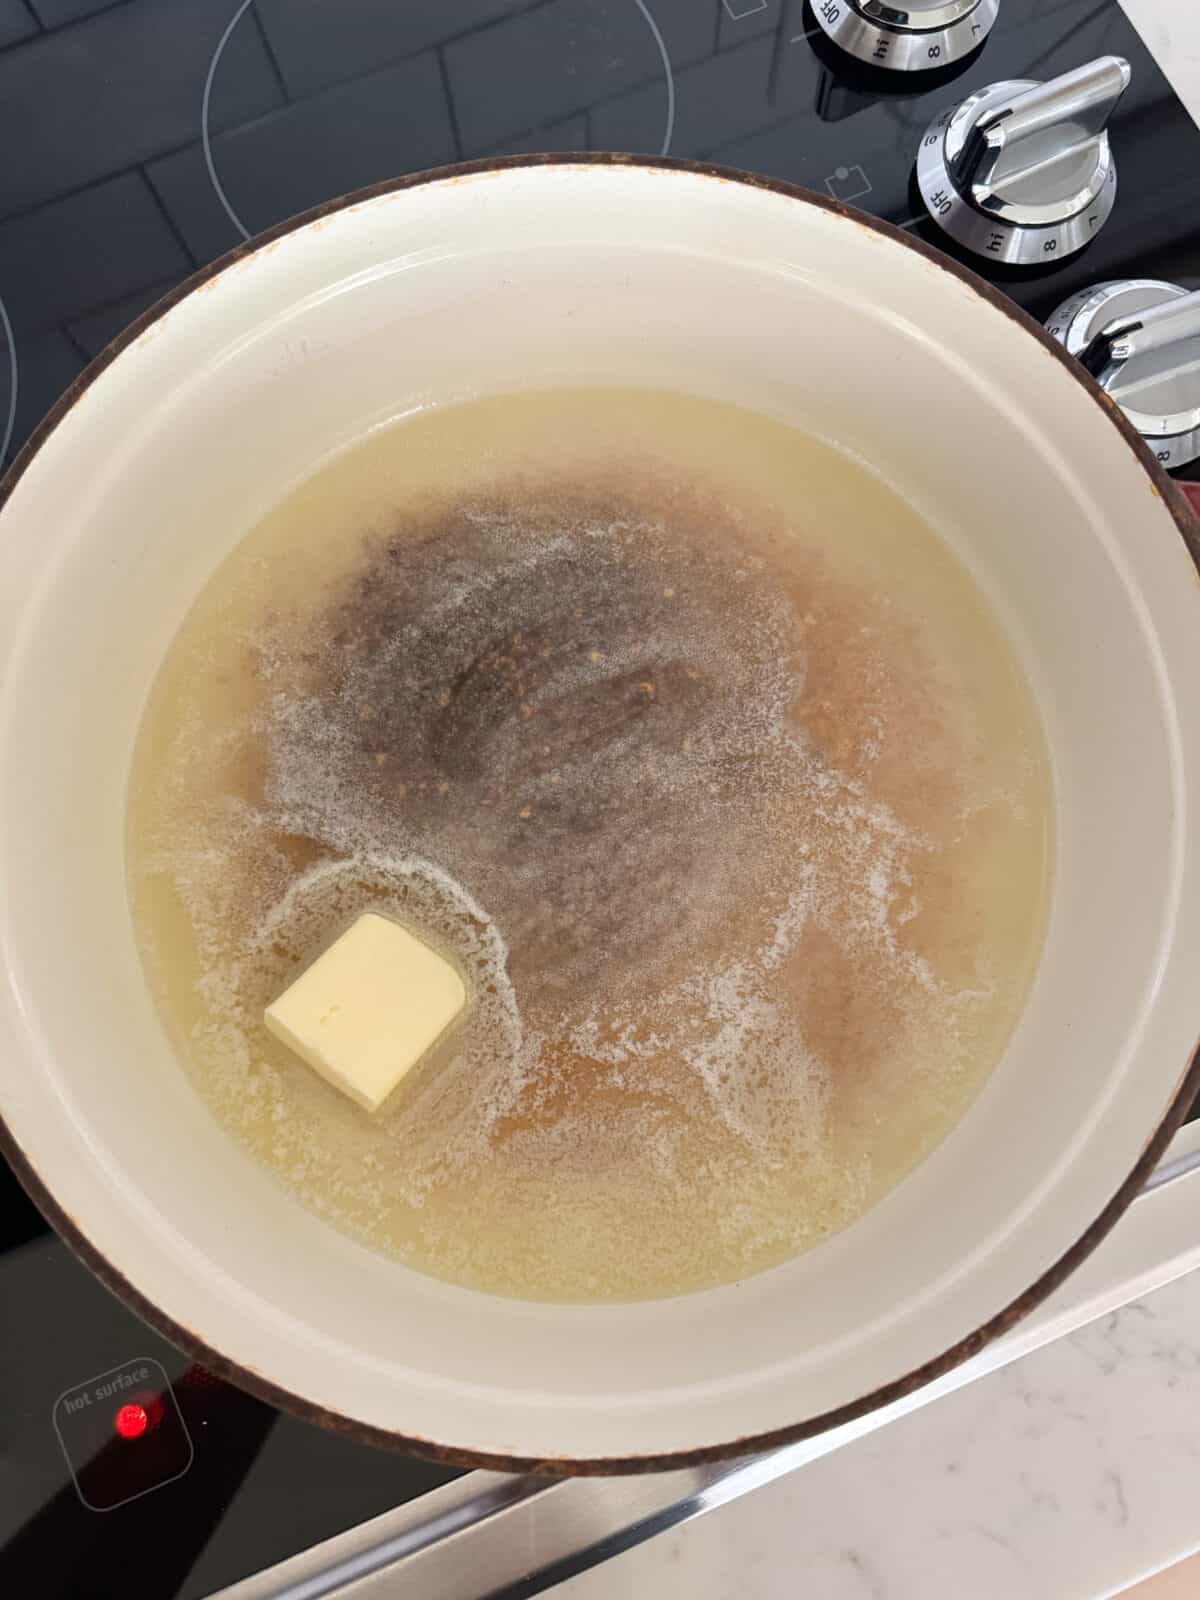
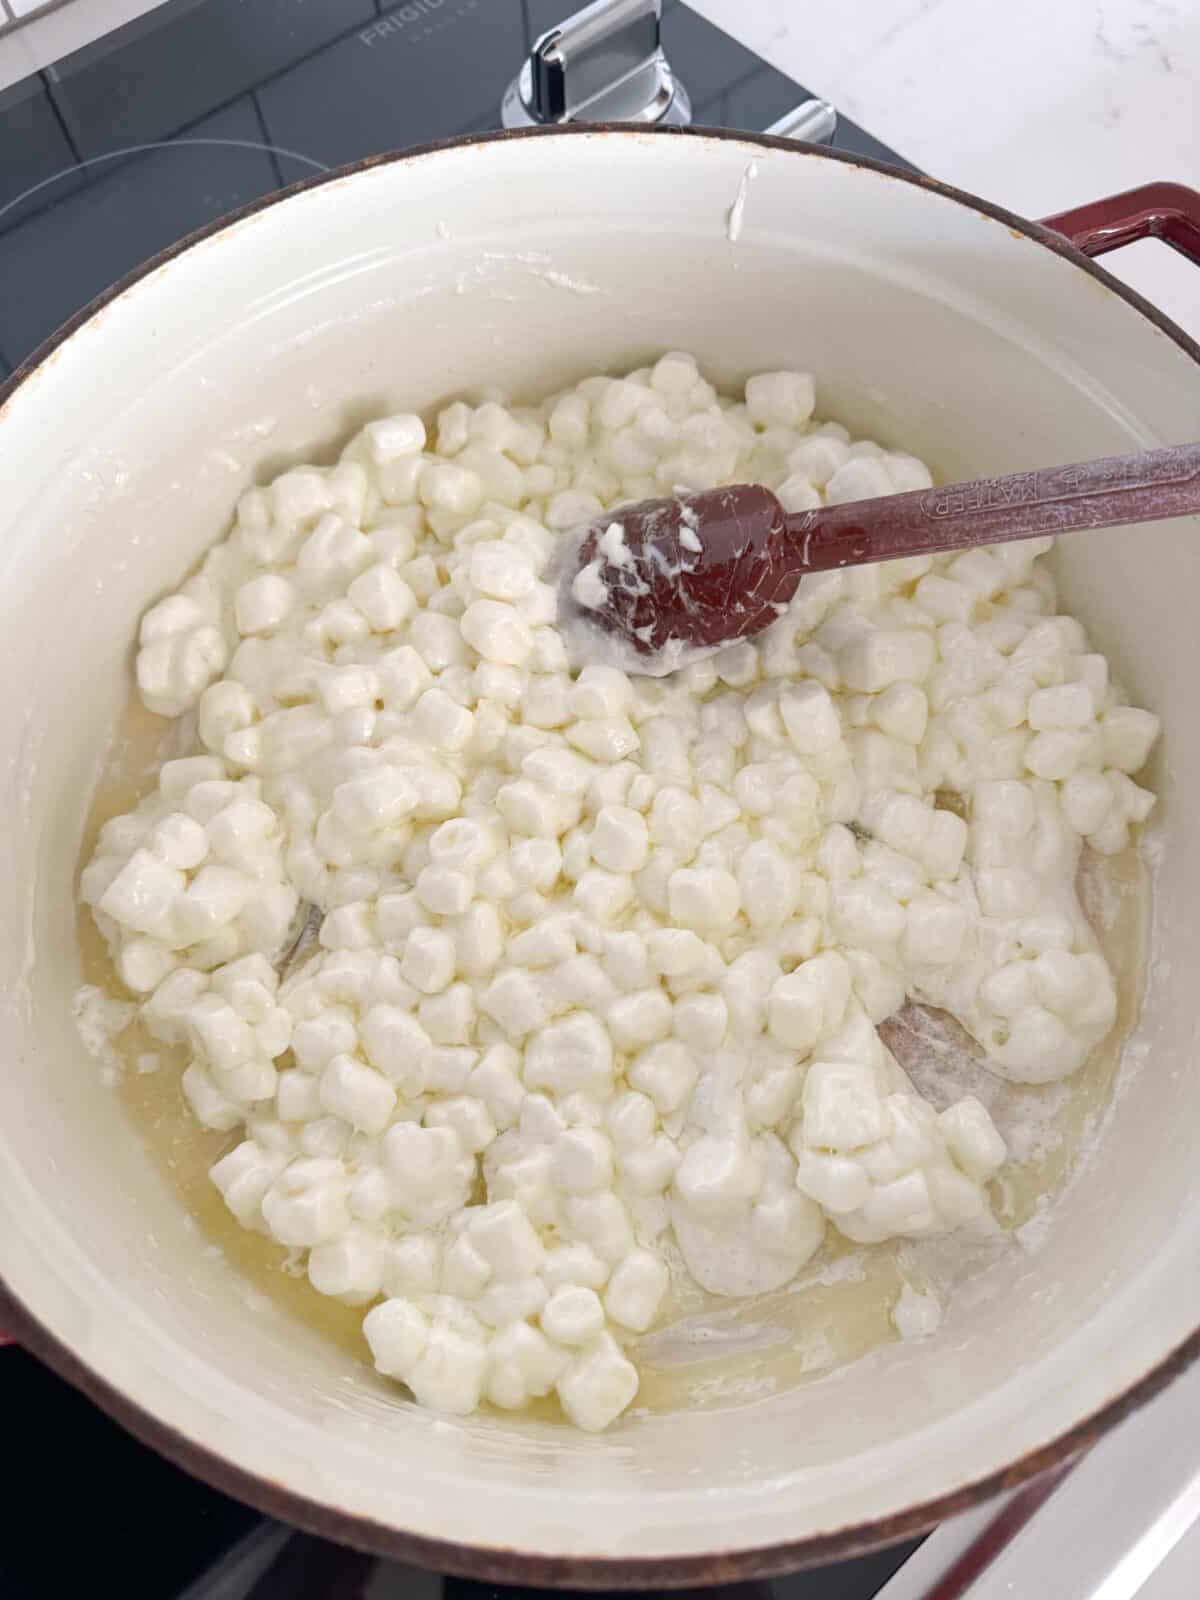
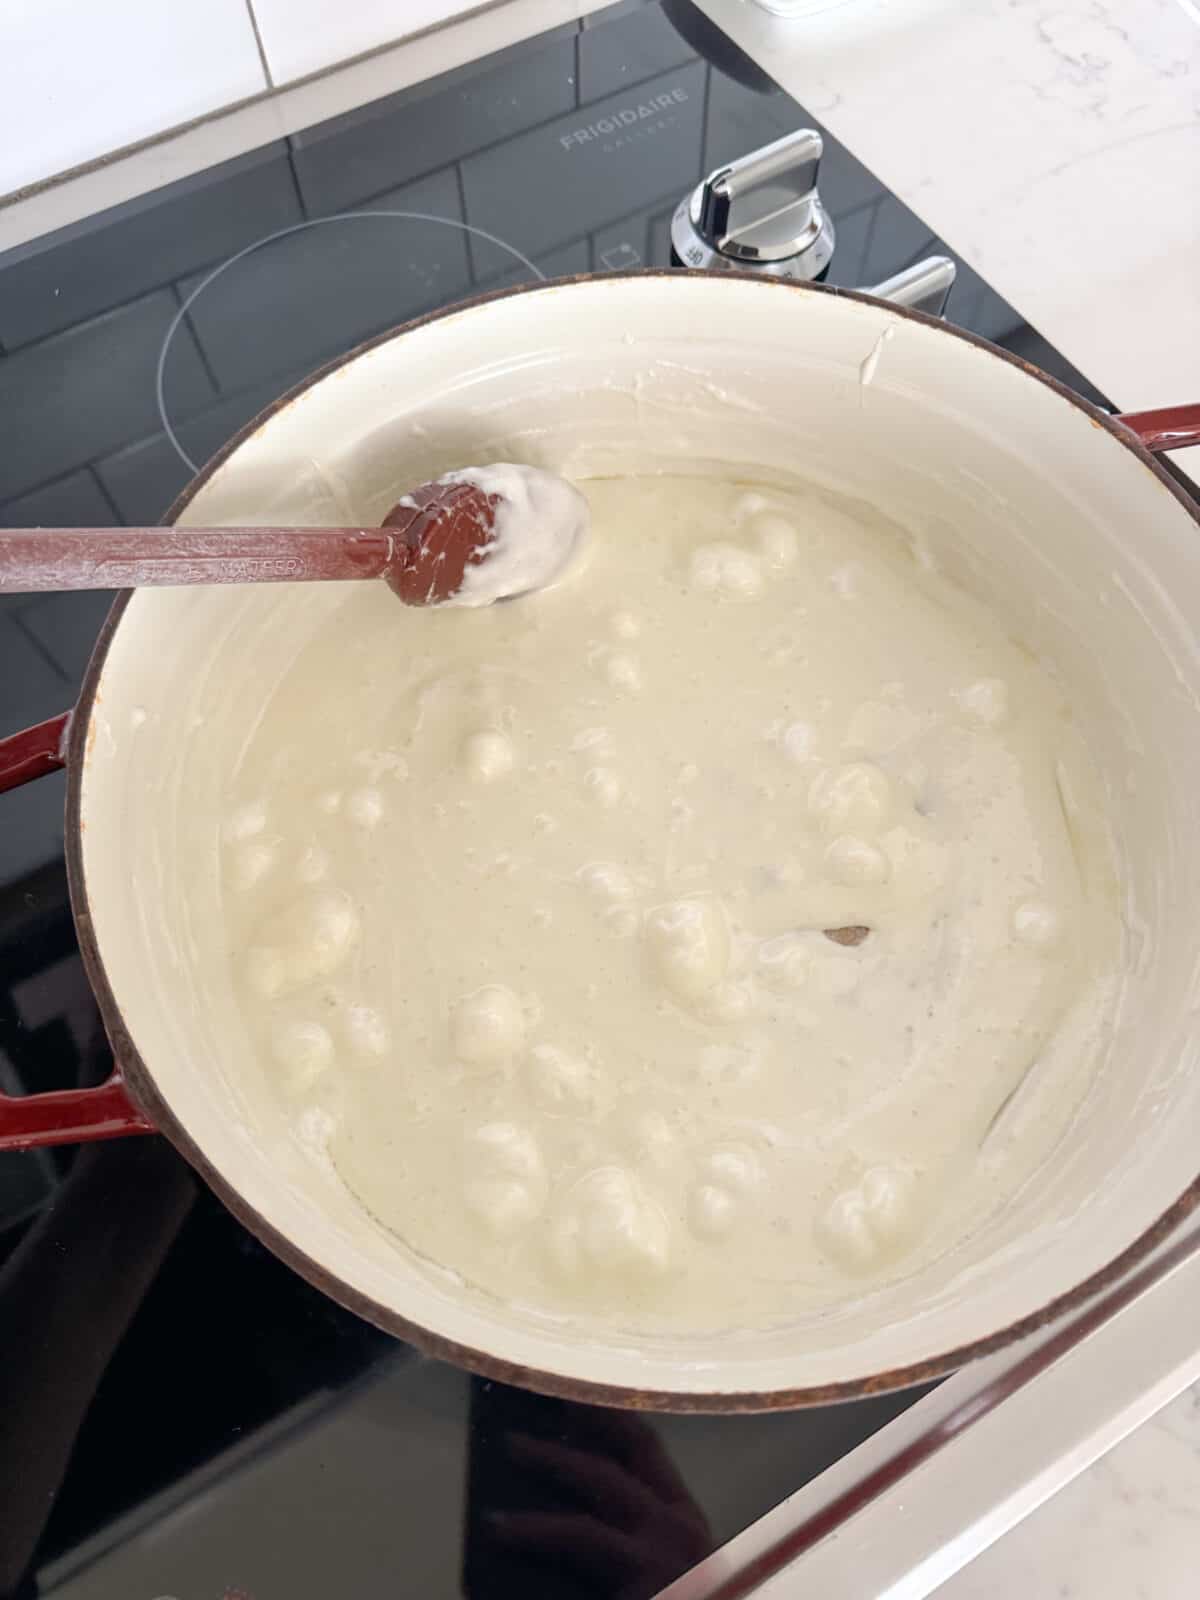
Melt Marshmallows. Melt marshmallows and butter in microwave in a large heat proof bowl until puffed, about 1 1/2- 2 minutes. You can also melt the marshmallows and butter over the stovetop in a large pot if desired. If using a pot over stovetop melt over medium to medium low heat and stir contantly until melted.
Note. If using large marshmallows, you use 5 cups large marshmallows and 4 tablespoons butter. If using mini marshmallows, use 7 cups mini marshmallows and 6 tablespoons butter. You can melt butter and marshmallows in a large heatproof bowl in the microwave for 1 1/2-2 minutes, or over stovetop in a large pot over medium heat stirring until melted.
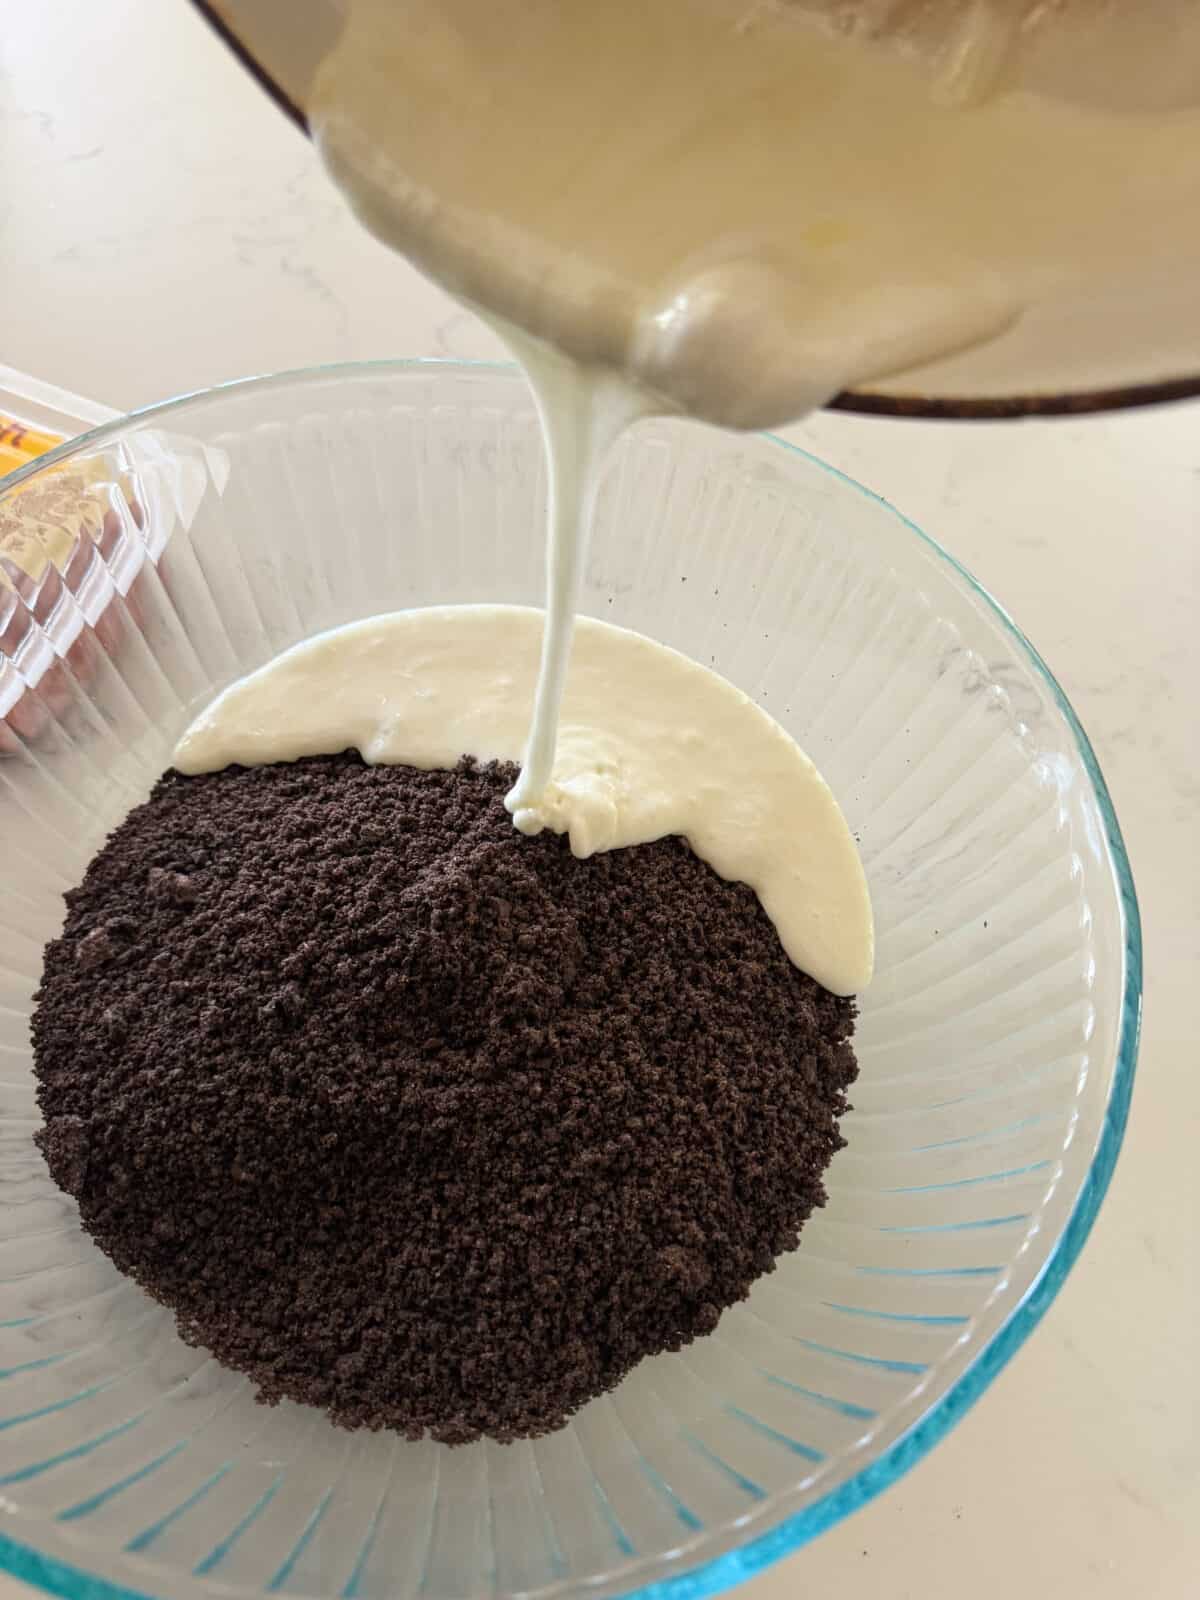
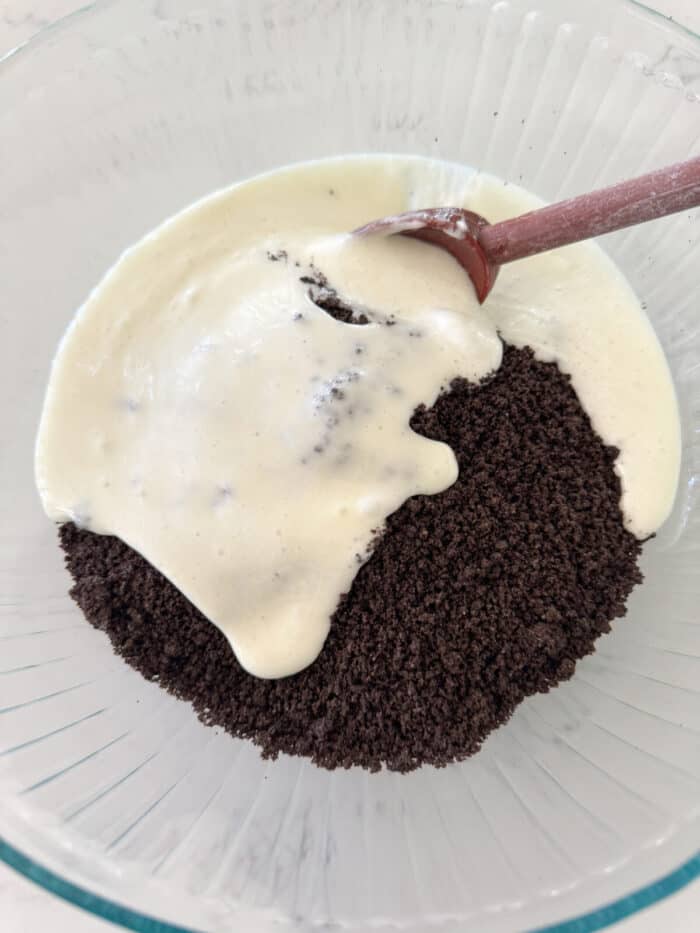
Combine Cookies and Melted Marshmallows. Working quickly, pour the ground cookies into the melted puffed marshmallows. Marshmallows will begin to set up pretty quick.
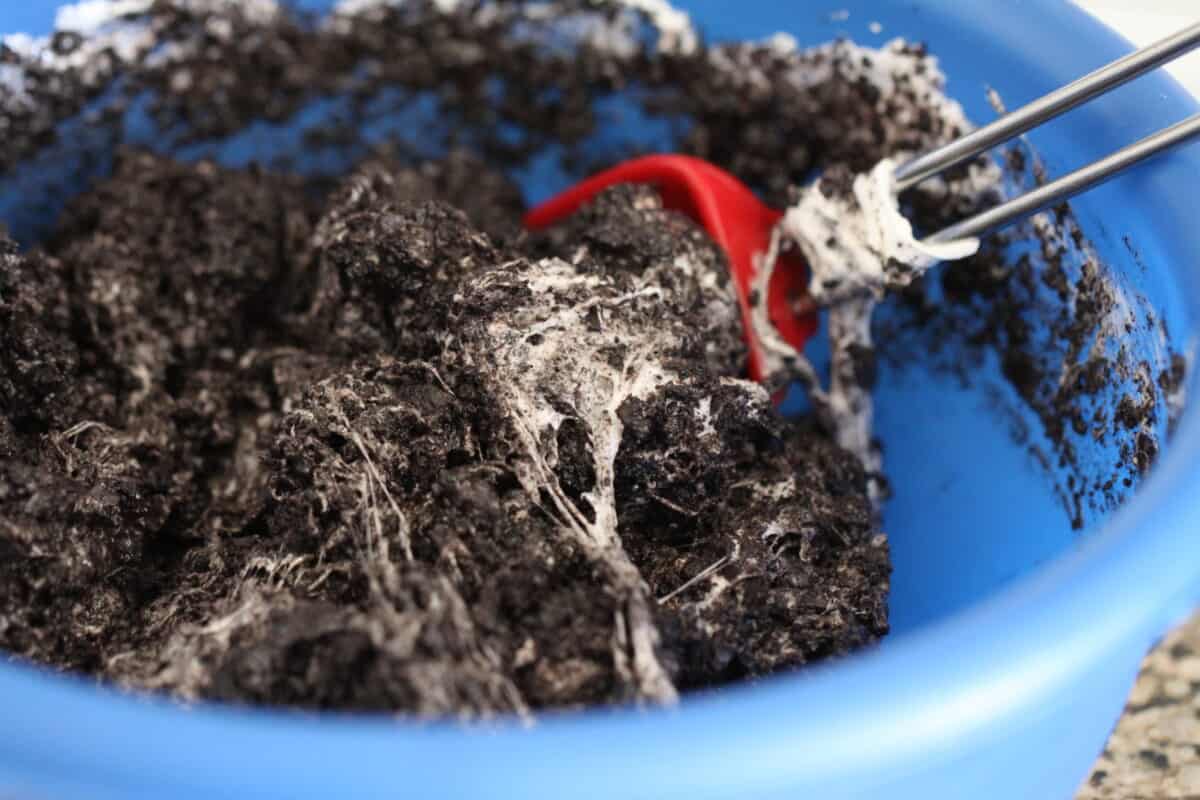
Transfer Mixture To Pan. Mix quickly and press into an 8×8 inch pan and let cool for 10 minutes. Cut into squares to serve.
Recipe Tips For Success
- Measure Out Ingredients In Advance. Make sure you measure out your ingredients before starting. Once the marshmallow mixture is melted, you need to work quick.
- Use Fresh Marshmallows. Check your mini marshmallows to make sure they’re fresh and soft. Sometimes when they’ve sat in the pantry for too long, they get hard.
- Plastic Knife. Use a plastic knife to cut into squares to prevent sticking. I cut into squares before the treats get to room temperature. Still somewhat soft makes for easier cutting.
- Grease Hands. Use a little softened butter or cooking spray on your hands to press warm treats into pan. Prevents it sticking to your hands.
How To Serve
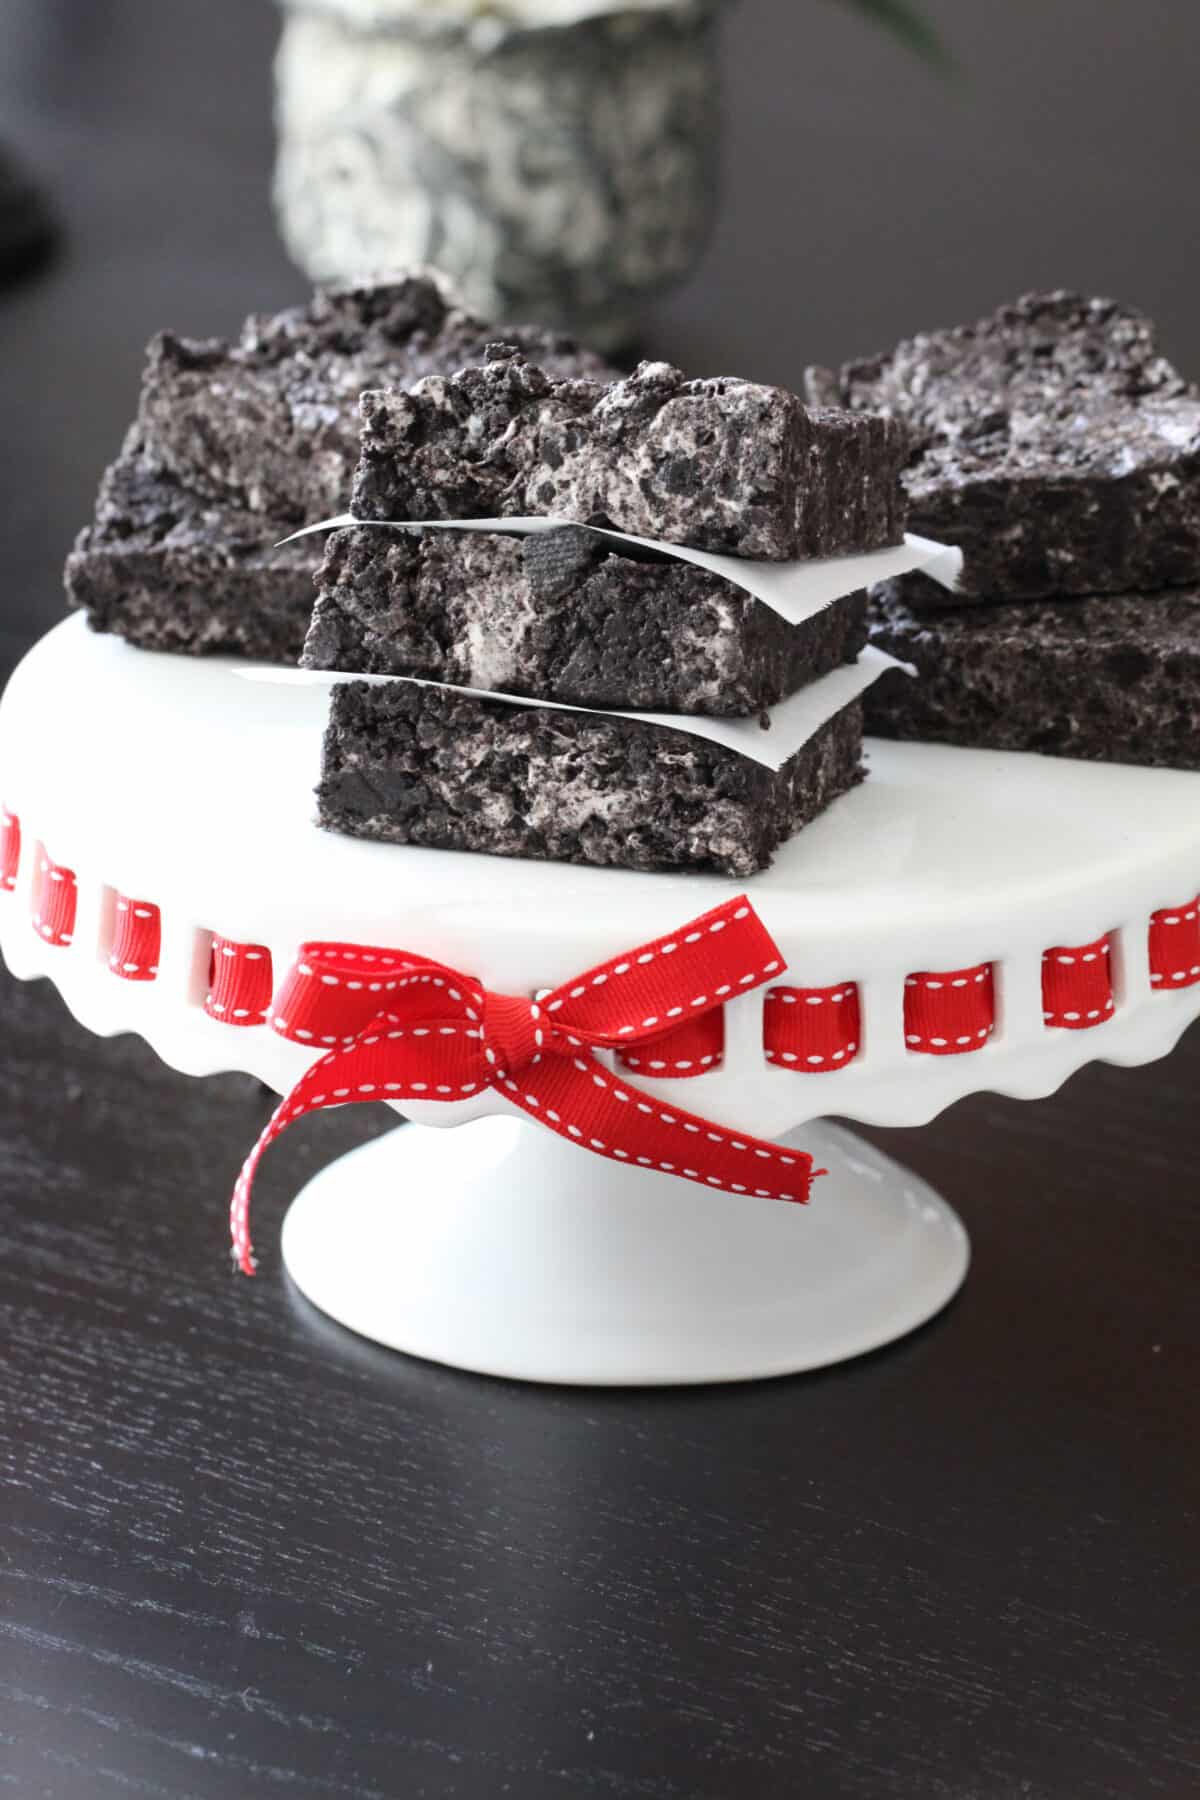
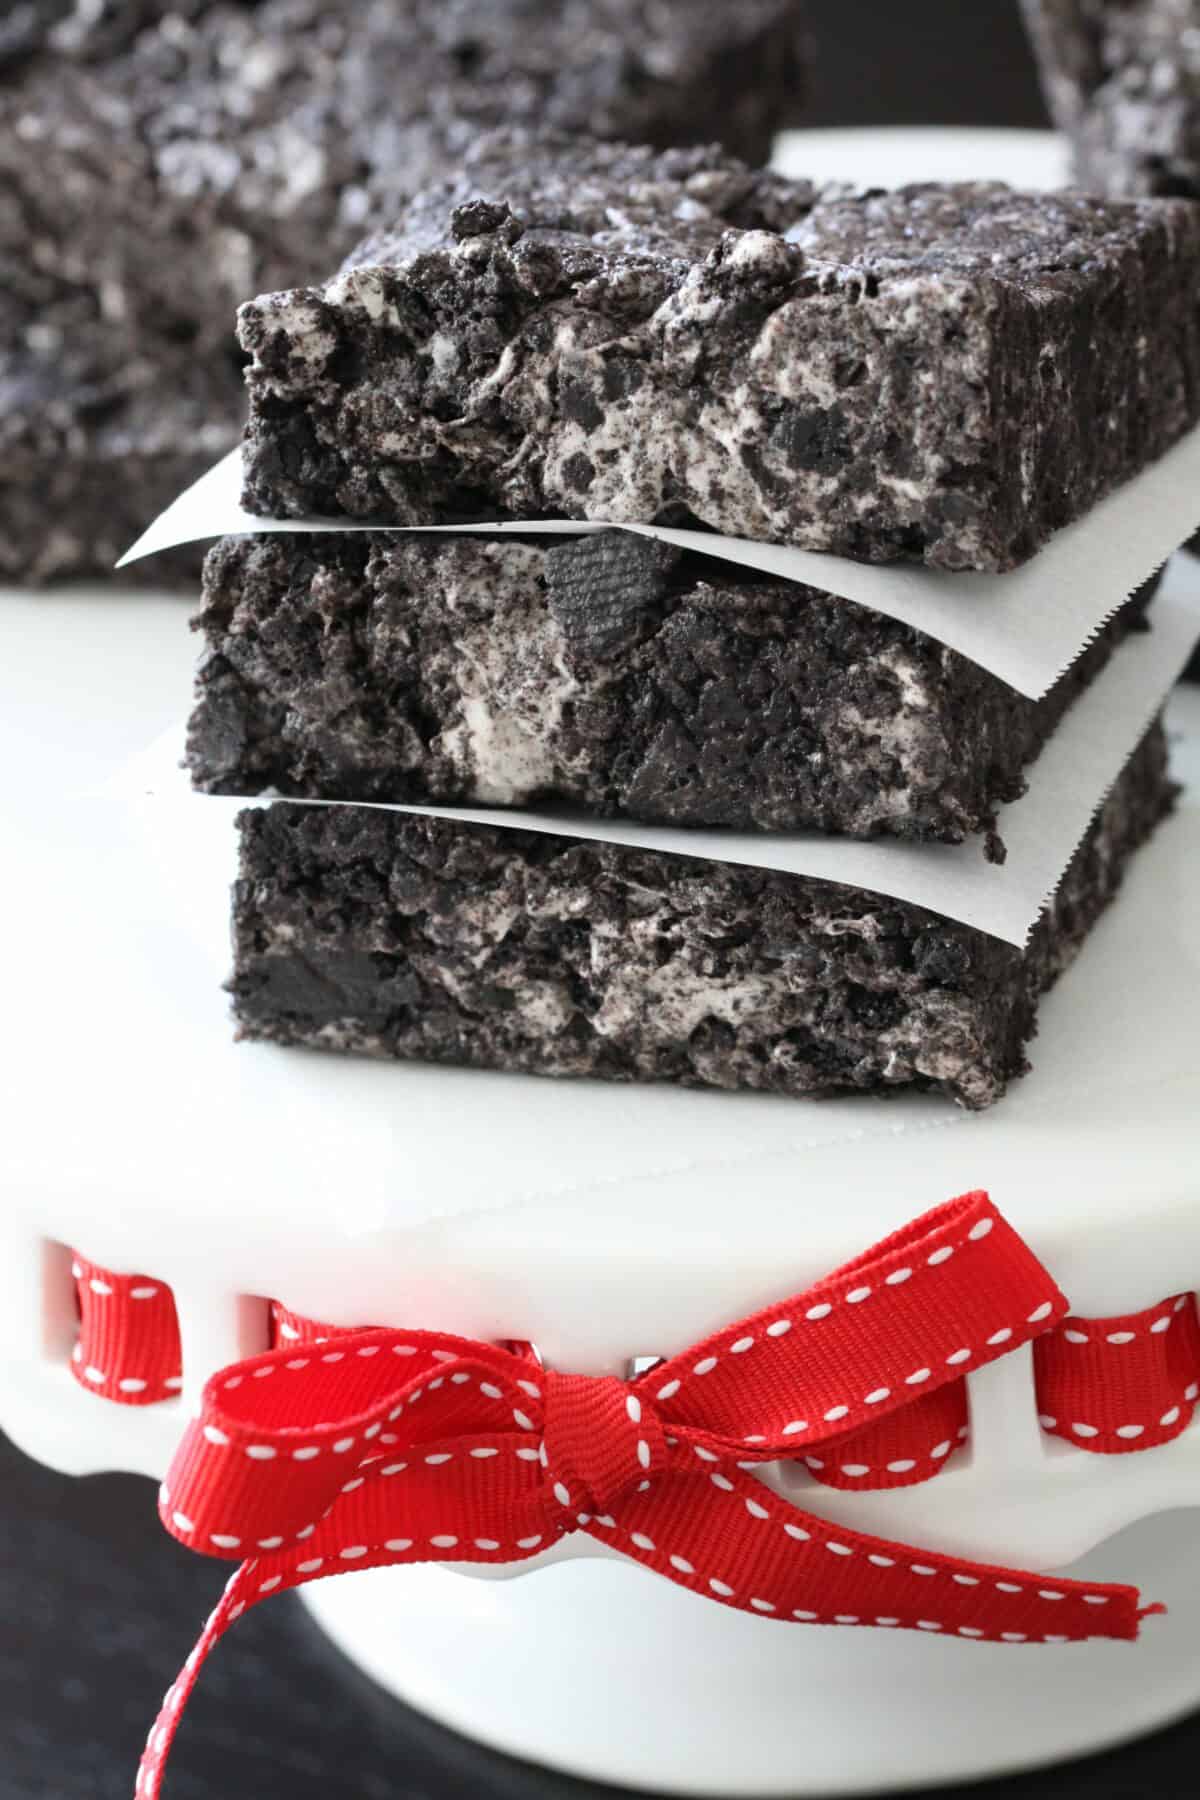
Serve bars room temperature on a cake stand or individual plates. Use a plastic knife to cut into squares while bars are still semi-soft or use a sharp knife that’s been buttered or sprayed with cooking spray. These cookie bars are so perfect for any dessert party, birthdays, holidays. So easy and everyone really loves them!
Leftovers
Store any leftovers in an airtight container or Ziplock bag for up to 3 days for best tasting results. I don’t recommend freezing or refrigerating these bars.
Try More Easy Marshmallow Desserts
No-Bake Cookies and Cream Bars
Equipment
- Microwave
- food processor
- mixing bowl
- mixing spoons
- plastic knife
- parchment paper
- rubber spatula
Ingredients
- One 16 oz package of Oreo
- 5 cups Large Marshmallows or use 7 cups mini marshmallows
- 4 tablespoons butter 6 tablespoons if using mini marshmallows
Instructions
- Place Oreos in food processor and pulse until ground.
- Melt marshmallows and butter in microwave in a large heat proof bowl until puffed, about 1 1/2- 2 minutes. If using the stovetop method to melt your marshmallows, place butter into large pot over medium heat to melt. Stir in marshmallows until melted. Remove from heat and pour in ground Oreo Cookies. Stir to combine then transfer to a parchment lined or greased 8×8 inch baking pan. Note: If using mini marshmallows, measure out 7 cups of mini marshmallows and 6 tablespoons of butter.
- Let set up for 10 minutes. Use plastic knife to cut bars into squares to prevent sticking.
Video
Notes
- Mini Marshmallows. If you’re using mini marshmallows, you’ll need 7 cups mini marshmallows and 6 tablespoons of butter.
- Stovetop Method. If you’d like to melt your marshmallows over the stovetop, place butter into a large pot over medium heat until melted. Add marshmallows, stirring until melted.
- Measure Out Ingredients In Advance. Make sure you measure out your ingredients before starting. Once the marshmallow mixture is melted, you need to work quick.
- Use Fresh Marshmallows. Check your large or mini marshmallows to make sure they’re fresh and soft. Sometimes when they’ve sat in the pantry for too long, they get hard.
- Plastic Knife. Use a plastic knife to cut into squares to prevent sticking. I cut into squares before the treats get to room temperature. Still somewhat soft makes for easier cutting.
- Grease Hands. Use a little softened butter or cooking spray on your hands to press warm treats into pan. Prevents it sticking to your hands.
Nutrition


 Welcome to my online kitchen! Picky Palate is where you’ll find family friendly recipes along with the best Disney eats, tips and copycat recipes!
I just want to say that each piece of your ‘slice’ is equal to eating five oreos and four marshmallows. That’s like mixing pure sugar with saturated fat and serving it as a snack.
I am making these for a school project, and i need to know what they are supposed to taste like and what the texture should be. Can you help me?
I cant wait to try this. My kids are going to be very happy. thank you! 😉
Hi! Is that a mixer or a spoon?
Lovely blog!!
Will this still be good after a day or two? To keep it “fresh” should I refrigerate it or just let it sit?
These are good, but I will never line a pan with foil for these again. Lightly grease parchment paper, or you will either toss them or spend a ridiculous amount of time picking the foil off them after freezing them. Like I did.
Mine came out gooey and stuck to the foil. I’ll use parchment paper next time. I cut them in smaller squares and coated them in crushed Oreos. It helped with the stickyness
These were terrible. Didn’t turn out like said at all. It gave me and my guests throat aches.
If I make these today but won’t serve until tomorrow how do I store them? In the refrigerator? Thanks!
I can’t wait to try these!
I was really looking forward to these. I made them for a Christmas get together and I am not satisfied with them. Wasn’t able to cut them into bars or anything. They just didn’t turn out and they sure don’t look like the bars in the photos. I don’t know if it was just me or what but I followed the directions exact. Oo well, worth the shot I suppose.
I had trouble with these. So hard to peel off the foil. Too much marshmallow and not enough oreo. Plus, it was very greasy. Kinda disappointed. I may try again with a few tweaks.
Can I use mini marshmallows?
This recipe was amazing! I saw it on buzzfeed but never followed up. For daughters bake sale at school I made these and she said they sold like crazy!!! Quick, easy, and cheap!
How long to they stay good for ?
Can i do this with marshmallow fluff??
How much would it be?
I’ve just made these yesterday for a coffee morning and melted a bar of Reece’s peanut butter chocolate and spread all that across on top to give a smooth crunch topping. I then adding a few sprinkles of popping candy because it was obviously not sweet enough .. It’s like a kids party in a bite!
should they go in the fridge before cutting them?
Or do they just settle on the counter?
These are delicious!! I just made them for a lunchbox treat for my girls for the first day of school tomorrow!! I will need to hide them until then!!! Thanks for sharing!!!
How do you keep the bars from sticking to your pan?
I made these today. I had high hopes for them. I followed the instructions to the letter, and could not get these out of the pan in one piece. I basically had to pull them apart and pull the tinfoil off. They actually cut fine, but getting them off the tinfoil was near impossible. We’ll see what people think of them, but I’m disappointed that they don’t look like yours. Mine are currently in the freezer, hoping they will stay together since I have to travel with them.
I truly wish I would have read all of the comments before making these, but the first hundred comments seem so positive. Wish I would have known to use parchment instead of foil and that they actually take much longer to set up than ten minutes.
There’s absolutely no way these are ready to eat in 15 minutes. You need a good few hours to set before tucking in, if you ask me!
I didn’t love these too much, i’m afraid. By the time they set into the right texture (which took several hours, I’m afraid – a long way from 15 minutes!) I found the texture nice, but the flavor a little too disappointing. I think an over-zealous dollop of vanilla essence, or rum flavor would have gone nicely, especially with some chocolate covered raisins or something else chewy in the center, perhaps even some nuts would have worked well. Just needs something else, as this is a little too much like eating sugar.
I’ve made these yummy bars twice and both times had problems getting it from the pan. The first time I followed the directions with the foil and had to peel away the foil and ended up throwing out 1/4 of the batch because I was unable to remove the foil without leaving small strips. The second attempt I greased and powdered a glass dish and the darn things still would come out of the dish. I had to peel it and place on parchment paper. I then covered with powdered sugar and cut into squares. My squares ended up very flat. Still good but so aggravating. Any suggestions on how to make without the issue of removing?
Just don’t use foil, but use something. I recommend using baking paper. I had no stick at all with mine. Although you do need to let them set properly, which takes several hours. Oil your pan and the paper will stick easily, if you’re extra worried, oil your paper too, but that’s usually not necessary.
So why does this say 10 minutes? I got the sense that maybe they needed more time to set up, however, as per the recipe, I made them because they took such a short amount of time.
Same for me too! They were too sticky (too much marshmallow?) and I thought they had too much butter (really greasy). I’ve been spending the last 20 minutes trying to peel them off- and I made a double batch so I have about 20 more minutes to go! Ugh. I wish more people posted AFTER they made them, like you, so I could have known this before hand. Everyone’s posts are “Looks so good, can’t wait to try!” but barely any reviews for after. Thanks for submitting!
I just got 2 pkgs. of smoreos!!!
Can these be made ahead of time and then frozen or just stored in airtight conatiner? I am thinking of using this recipe for one of the treats at the dessert bar of our daughter’s wedding reception on the 27th of June 2015. Can you please share any tricks having to do with making and storing? Thankyou!
Well I know we already missed your Daughter’s wedding reception (hope it went well!), but yes, freeze ’em, pull ’em out, leave ’em out… they’re pretty easy. You shouldn’t have any issues storing them, as they’re almost totally sugar. Keep them away from humidity and bugs, that’s it.
Do you know if these can be made ahead of time and either stored or frozen until ready for use? I would like to use these in a dessert bar for a wedding reception at the end of this June, but would like to make them a couple of weeks before wedding.
I made these and accidentally got double stuffed Oreos! They were really good but didn’t harden up like these seemed to have done. So, word of advice, use regular Oreos. 🙂 Thanks for the recipe!
I used regular and they were still super soft. They are not quite bar like, and more gooey mess. I think the recipe calls for too much marshmallow and butter.
I can’t figure out the putting on foil part. I did that and can’t even eat the bars unless I eat the foil that is stuck on the bottom. What did I do wrong?
You want to oil your foil, but to be honest, foil is a terrible idea, baking paper works much better.
Oh they’re tasty alright! Just definitely recommend spraying that foil because these do stick.
these are cooling now and they looks outstanding! I used a much larger pan because I wanted mine thinner than yours and I think they will be perfect
Were they?
Can these be stored outside the refrigerator? How long? (Although I’m not sure they’ve ever survived long enough without being eaten to test that :P)
They’re just sugar, so essentially, yes. But you might find the texture works better when straight out of the fridge. If you want to leave them out, add half a cup of sugar to your mix and heat to softball stage, that will help firm it a little more for being out of the fridge.
do these have to be refrigerated?
OMG I have to make these my grandson will love these ,Thank you so much
Cammy Helmer
Can I melt butter and marshmallow with stove? Or should I use microwave? Thanks 🙂
Yes, use a thermometer if you have one and heat to softball stage, or just play it by eye. Low-heat, lots of stirring. Non-stick pans are a little more convenient for getting it out.